
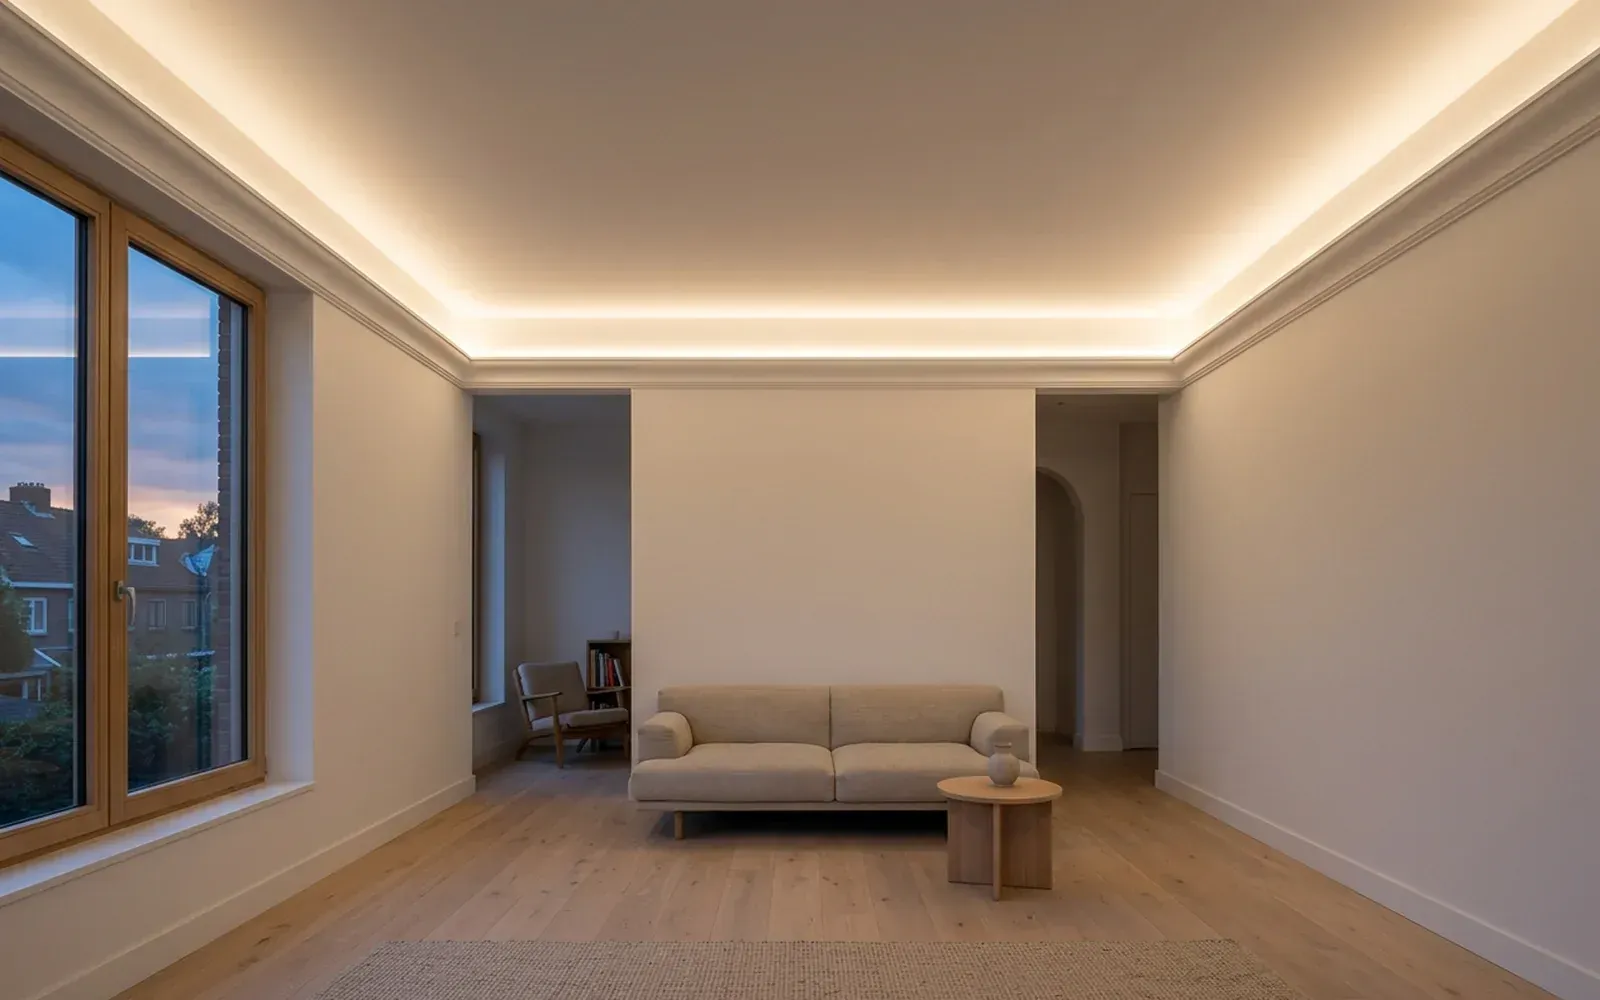
Indirect ceiling lighting is easiest to create with a lighting cove: a ceiling or wall moulding fitted at some distance from the ceiling, with an LED strip in a profile behind it. The light does not shine straight into the room, but washes softly across the ceiling. That gives an even, calm glow with no visible lamps. Always have the electrical part, such as the power supply, wiring and connection, done by a qualified electrician. The moulding itself, the dimensions and the finish are skilled work for the moulding fitter.
How does a lighting cove work?
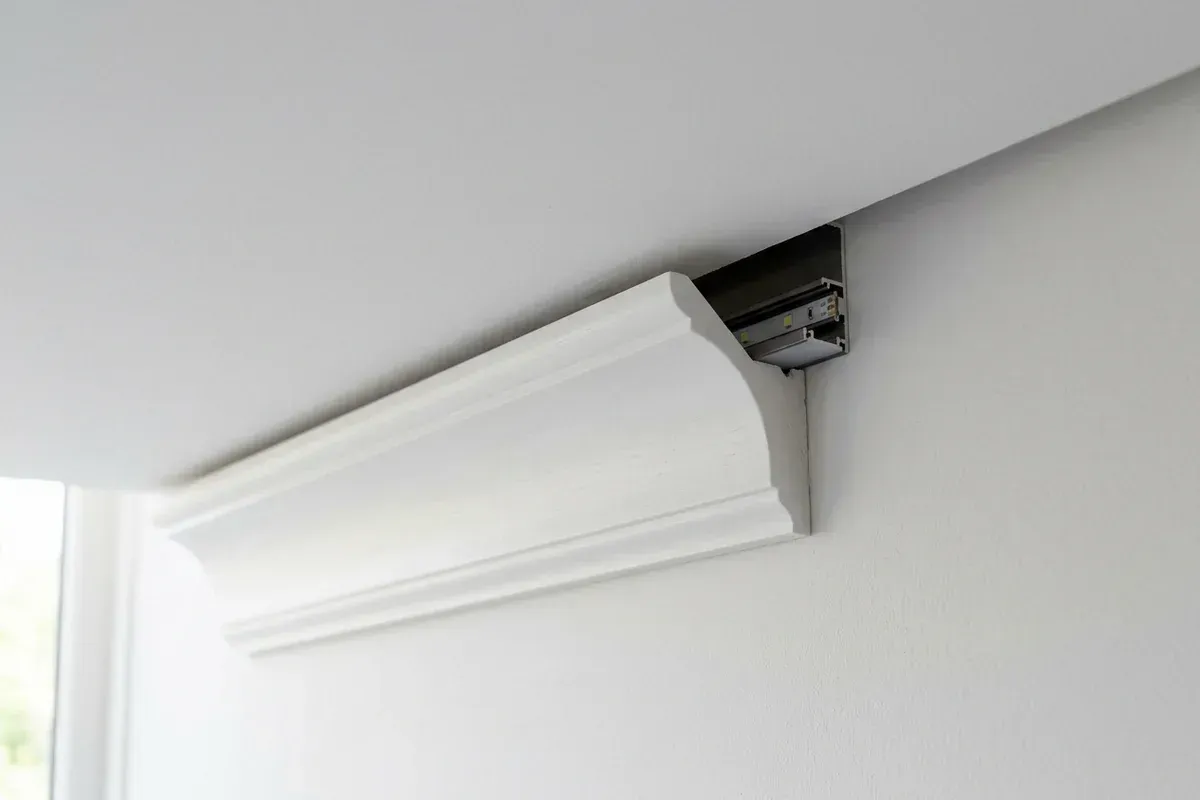
Ordinary coving meets the ceiling directly. A lighting cove deliberately does not. An opening is left between the top of the moulding and the ceiling. Behind the moulding sits an LED strip, usually in an aluminium profile. The light goes upwards, hits the ceiling and spreads into the room from there.
As a result you see:
- no light points, but a soft band of light;
- a ceiling that looks higher and brighter;
- shadow-free, atmospheric lighting, a pleasant addition to ordinary lamps.
Which versions are there?
Cove on the wall, light towards the ceiling
The most common version. The moulding sits on the wall, a little below the ceiling, and the light shines upwards. This is also known simply as a cove.
Moulding on the ceiling, light towards the wall
Here the moulding sits on the ceiling, at some distance from the wall, and the light shines down along the wall. This highlights texture in the wall, for example with a panelled wall or textured plaster.
Classic cornice with a light slot
A richer profile, such as a cornice, can also be made with a light slot. That way you combine a classic look with modern lighting. You can read more about profiles in coving and cornices.
Dropped ceiling with a light slot
With a dropped ceiling or bulkhead, a light slot can be incorporated along the edge. That is a building alteration that goes beyond mouldings and needs to be agreed with the contractor in advance.
What should you look out for with coving and lighting?
Distance and light spread
The distance between moulding and ceiling determines how the light falls. If the opening is too small, a harsh stripe of light appears just above the moulding. If it is large enough, the light fades evenly across the ceiling. The depth of the moulding also matters: the LED strip should not be visible from the room. The right measurement depends on the profile and the strip; the manufacturer and the electrician have the final say on that.
A flat ceiling
Grazing light shows every irregularity. A ceiling with bumps, joints or cracks becomes more noticeable with indirect lighting. If necessary, have the ceiling made flat and painted first, before the moulding goes up.
Corners and mitres
A lighting cove usually runs all round the room or along a full wall. In the corners, the mouldings meet in a mitre joint. Because the light washes right across those corners, an open or misaligned joint is extra noticeable. The LED profile also has to continue round the corner without a dark spot.
Cabling and power supply
An LED strip needs a power supply or driver. It has to be somewhere accessible, for example in a cupboard, above a dropped ceiling or behind a removable section. Have a qualified electrician lay the cabling, install the power supply and connect it to the mains. Agree in advance:
- where the power supply will go and how it stays accessible;
- where the cable enters the moulding;
- how the lighting will be switched or dimmed;
- whether the strip needs to be connected in sections over long runs.
Maintenance and replacement
LED strips and power supplies last a long time, but not forever. Choose a construction in which the strip can be replaced without ripping out the moulding. With a lighting cove that has an open top, that is usually easy to do.
Heat and ventilation
LEDs get warm, and so do power supplies. An aluminium profile dissipates heat. Follow the manufacturer's instructions on ventilation and distance from combustible materials; the electrician can advise on this too.
Material and finish
Lighting coves are often made in MDF, which can be crisply profiled and painted in any RAL colour. Usually the moulding and ceiling are the same colour, so the moulding blends into the architecture and only the light stands out. The joint between moulding and wall is finished with acrylic caulk, which can be painted over.
Order of work
- Design: decide where the light should go and what effect you are after.
- Coordination with the electrician: power supply, cabling, switching and any dimming.
- Preparation: ceiling and wall flat and ready for painting.
- Fitting the mouldings: level, with crisp mitres and the right distance from the ceiling.
- Caulking and painting.
- Fitting and connecting the LED strip by the electrician.
Common mistakes with a lighting cove
- Too little distance from the ceiling, so a harsh stripe of light appears instead of a soft fade.
- A moulding that is too shallow, so you can see the LED strip or the individual dots of light from the room.
- A ceiling that is not flat, so the grazing light magnifies every bump and joint.
- No place for the power supply, so it can no longer be reached later.
- Involving the electrician too late, while the cabling and switching need to be known before the mouldings are fitted.
- A cold light colour in a living space, which makes the effect feel chilly.
It pays to make a test piece: a short length of moulding with a temporarily connected strip at the intended height. That way you can see the light spread and colour before the whole room is done.
Combining with lighting at floor level
Would you also like light lower down in the room, for example along the floor in a hallway or bedroom? Then read skirting boards with LED lighting. For inspiration on mouldings in a clean-lined interior, read decorative mouldings in a modern interior.
Having coving with indirect lighting fitted?
TipTop Plinten fits decorative mouldings and coving, including as a lighting cove, and coordinates the dimensions with your electrician. Send photos of the room, the dimensions and an idea of the lighting effect you are after via the contact page. The quote is free and without obligation, and we can communicate in English, Dutch, German, Turkish, Persian or Arabic. An on-site measurement is optionally available for €75 incl. VAT; this amount is credited as a discount on jobs above a minimum project size.
Frequently asked questions
A lighting cove is a ceiling or wall moulding with space at the back or top for an LED strip. The light does not shine directly into the room but washes across the ceiling or wall. This creates soft, indirect light with no visible light points.
The electrical part, such as the power supply, the wiring and the connection to the mains, is a job for a qualified electrician. TipTop Plinten fits the mouldings and agrees the space for the LED profile and cabling with the electrician in advance.
That depends on the profile, the LED strip and the effect you want. There must be enough distance for the light to wash evenly across the ceiling without harsh spots. The profile manufacturer and the electrician will give the right measurement for this.
That has to be arranged in advance. LED strips and power supplies have a limited lifespan. So choose a construction in which the strip and the power supply remain accessible, for example via an open top or an accessible spot for the driver.
Usually not as it is. Ordinary coving meets the ceiling directly and has no room for lighting. Often the moulding is replaced with a profile that sits at a distance from the ceiling.
Related articles
Mouldings & walls
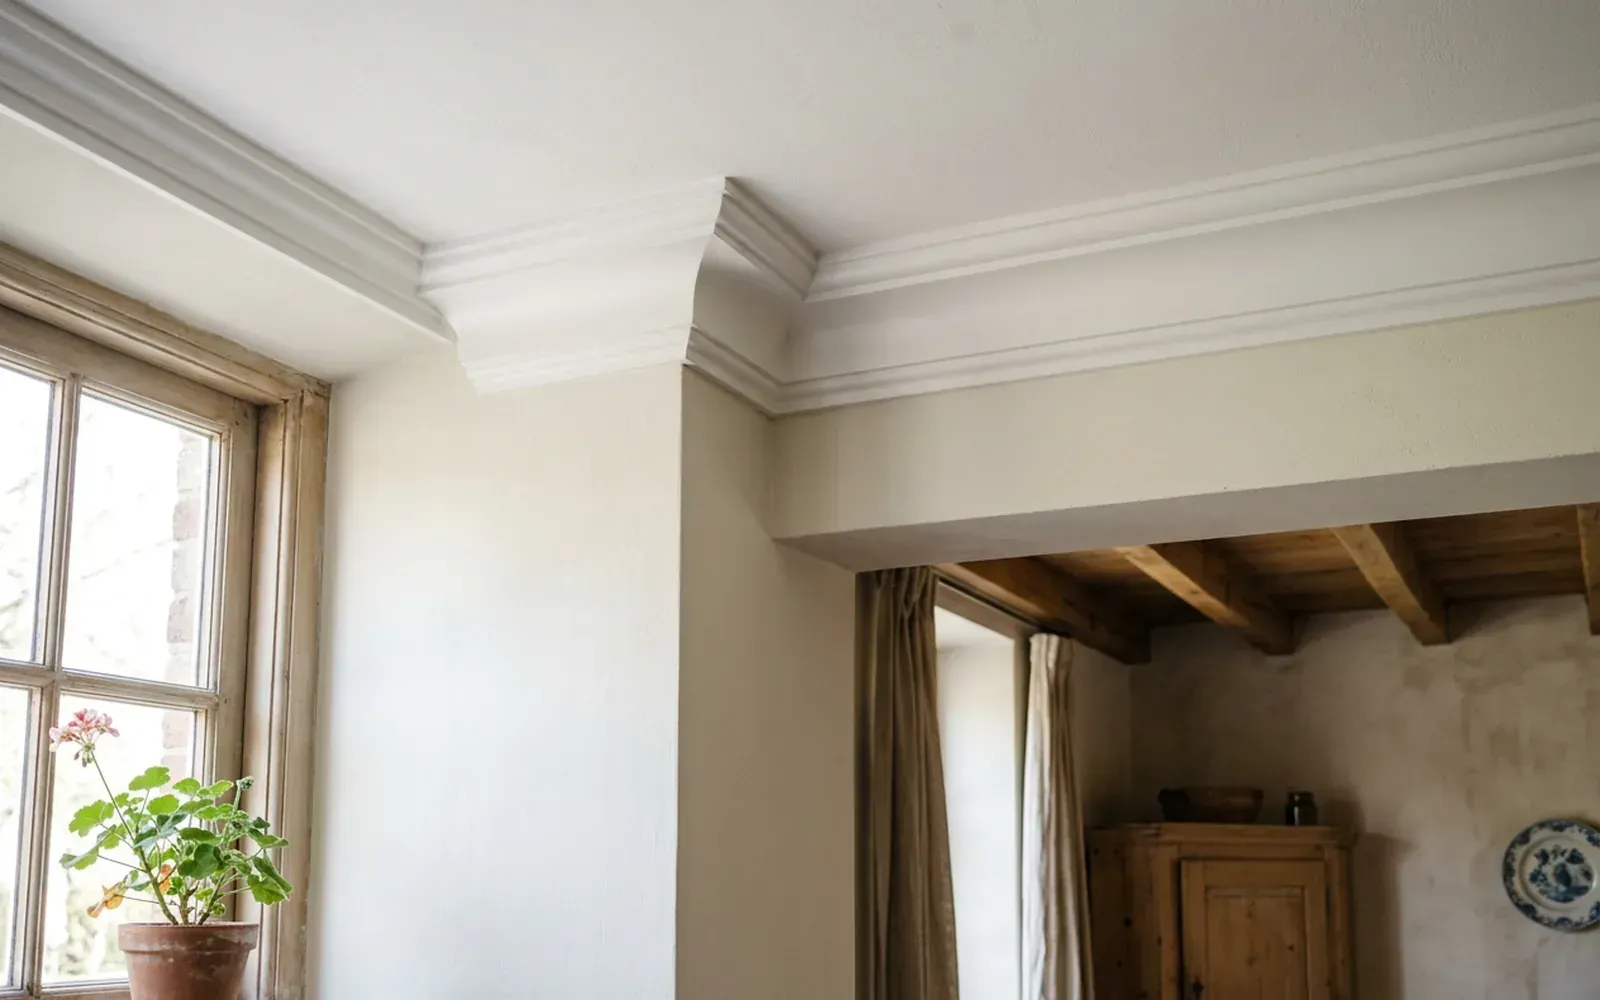
Coving and cornices: the difference, types and installation
Coving gives the transition between wall and ceiling a crisp finish and completes a room. We explain how it differs from a cornice, which profiles are available and how they are fitted.
Choosing skirting
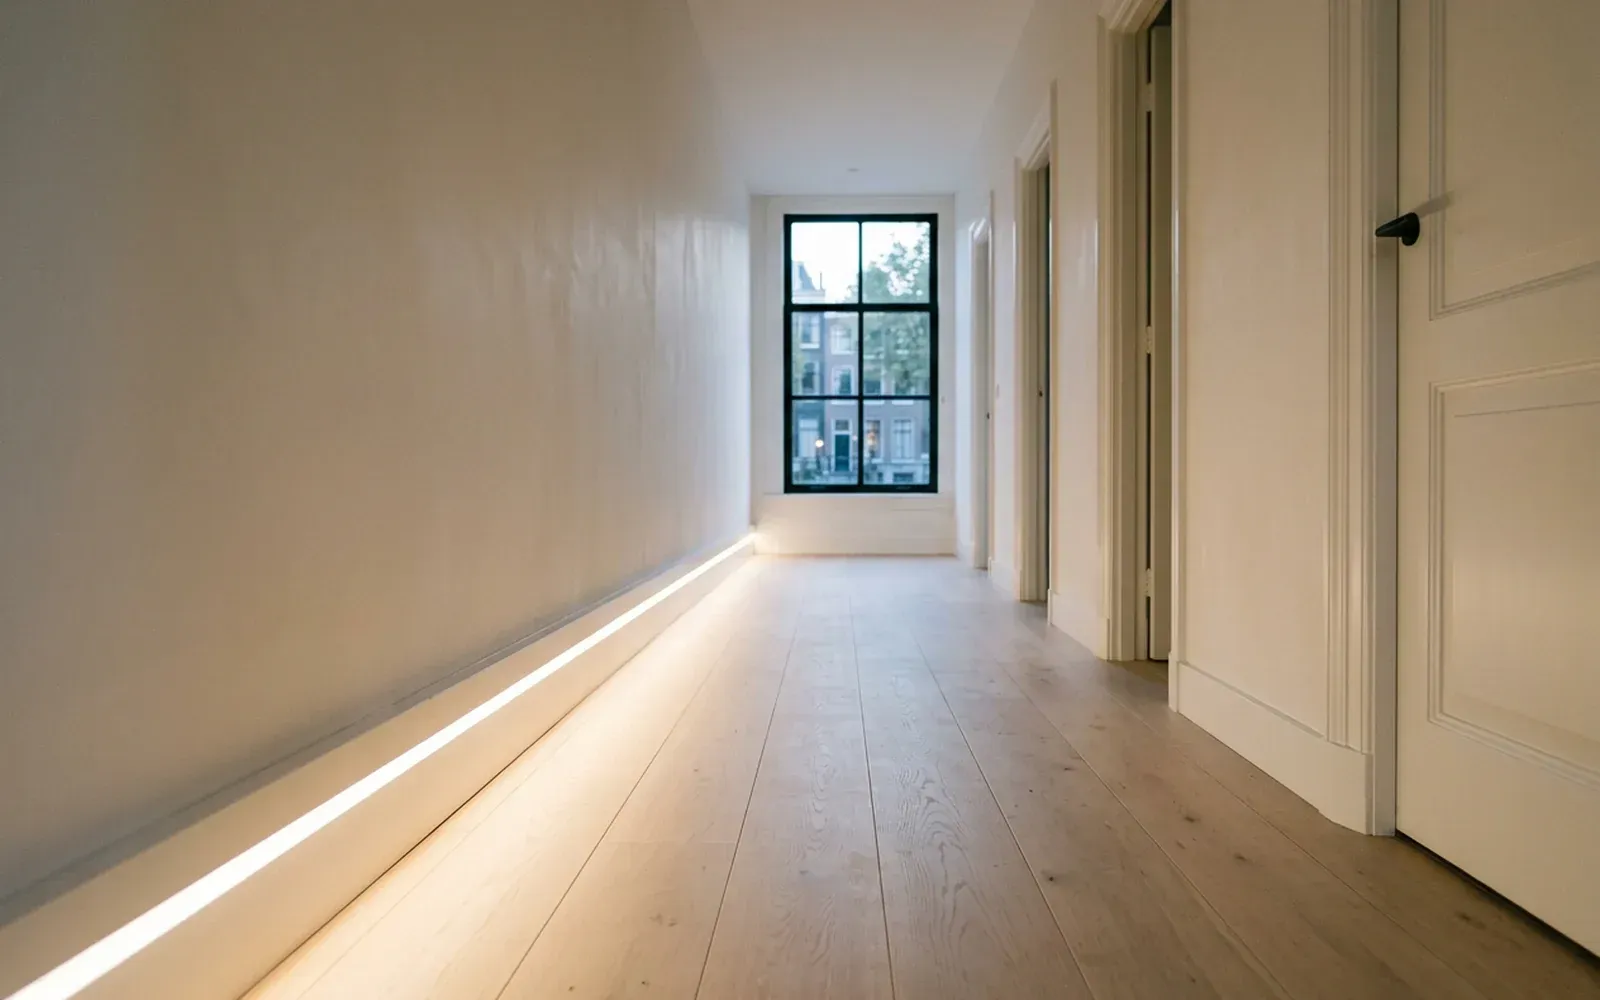
Skirting boards with LED lighting: soft light along the floor
Skirting with an LED strip creates a soft line of light along the floor: handy as a night light and attractive as mood lighting. This is how it works and what to arrange in advance.
Mouldings & walls
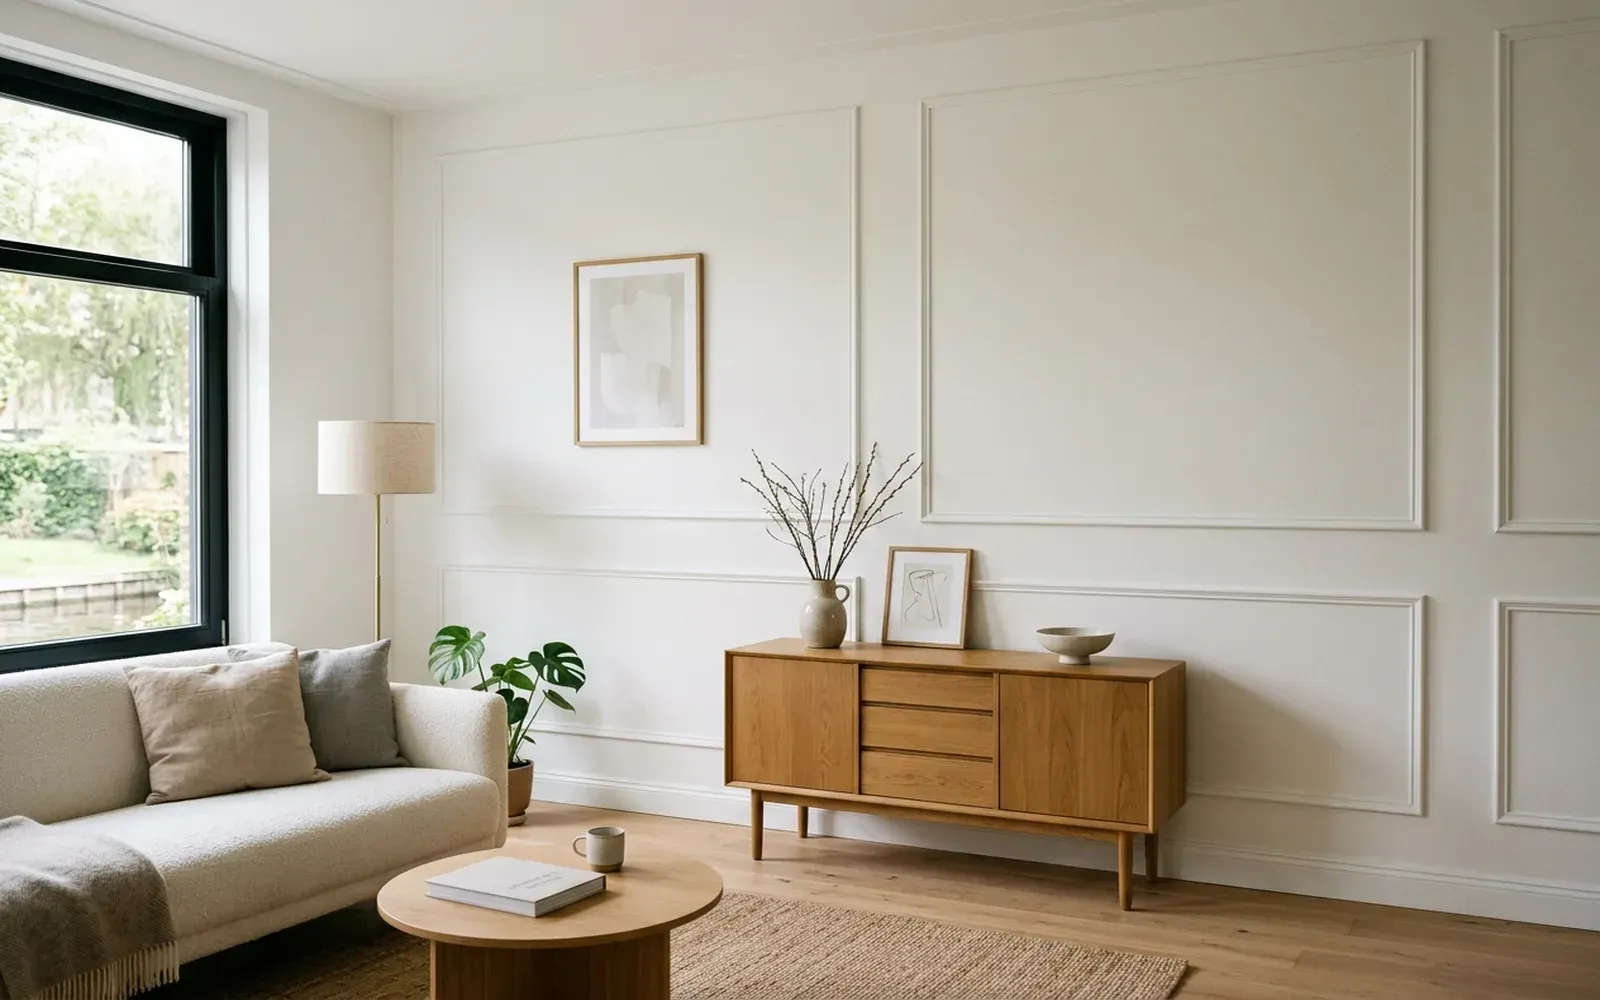
Decorative mouldings in a modern interior: how to use them with style
Decorative mouldings are not just for period properties. With a calm profile and the right colour, they give a modern interior depth and a refined look. Here is how to use them.
Related
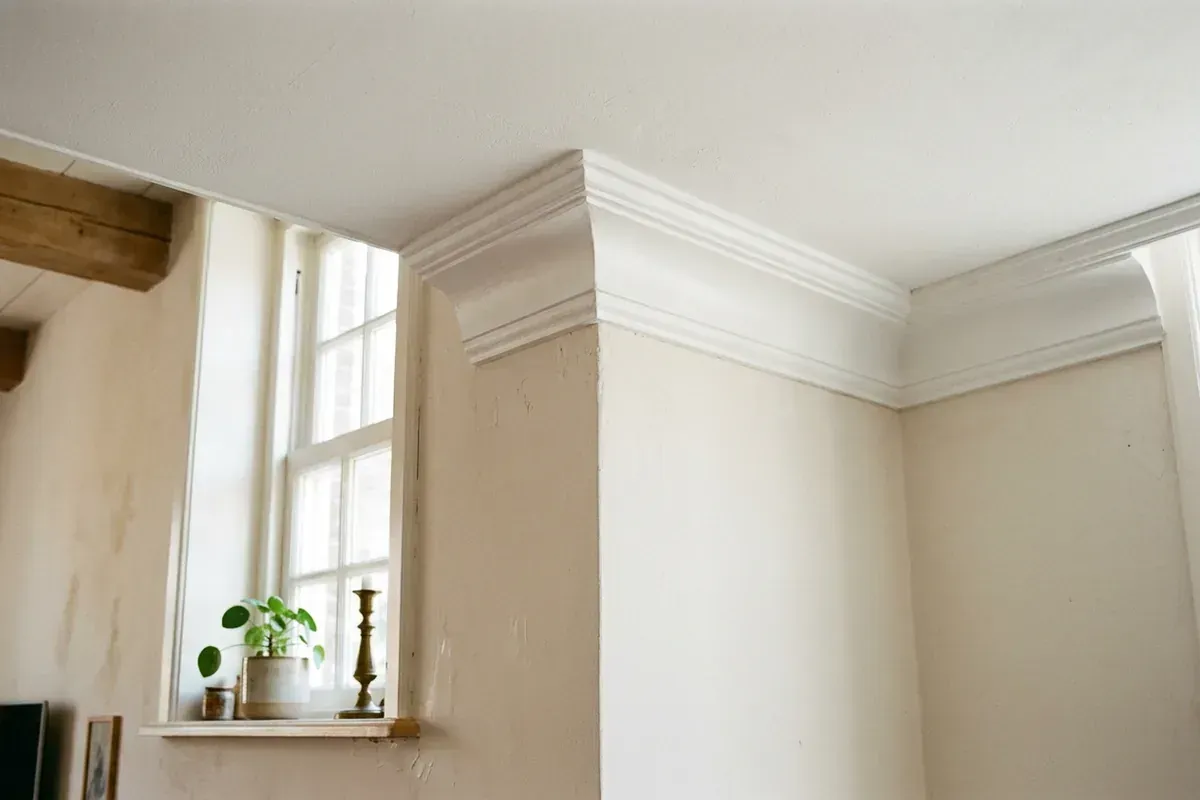
Coving
Coving finishes the corner between wall and ceiling. It hides hairline cracks and unevenness and gives a room a finished top edge.
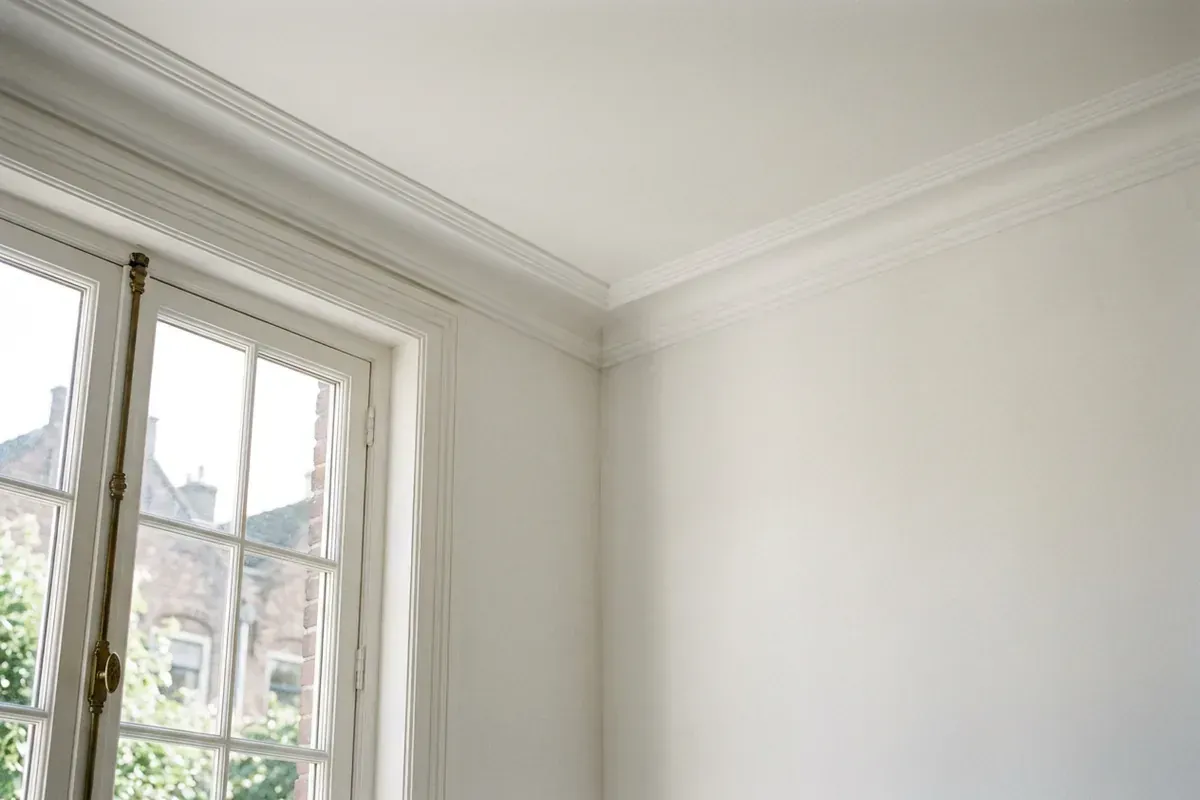
Cornice
A cornice is a richly profiled moulding that crowns the top of a wall. Indoors, it is the classic version of coving.
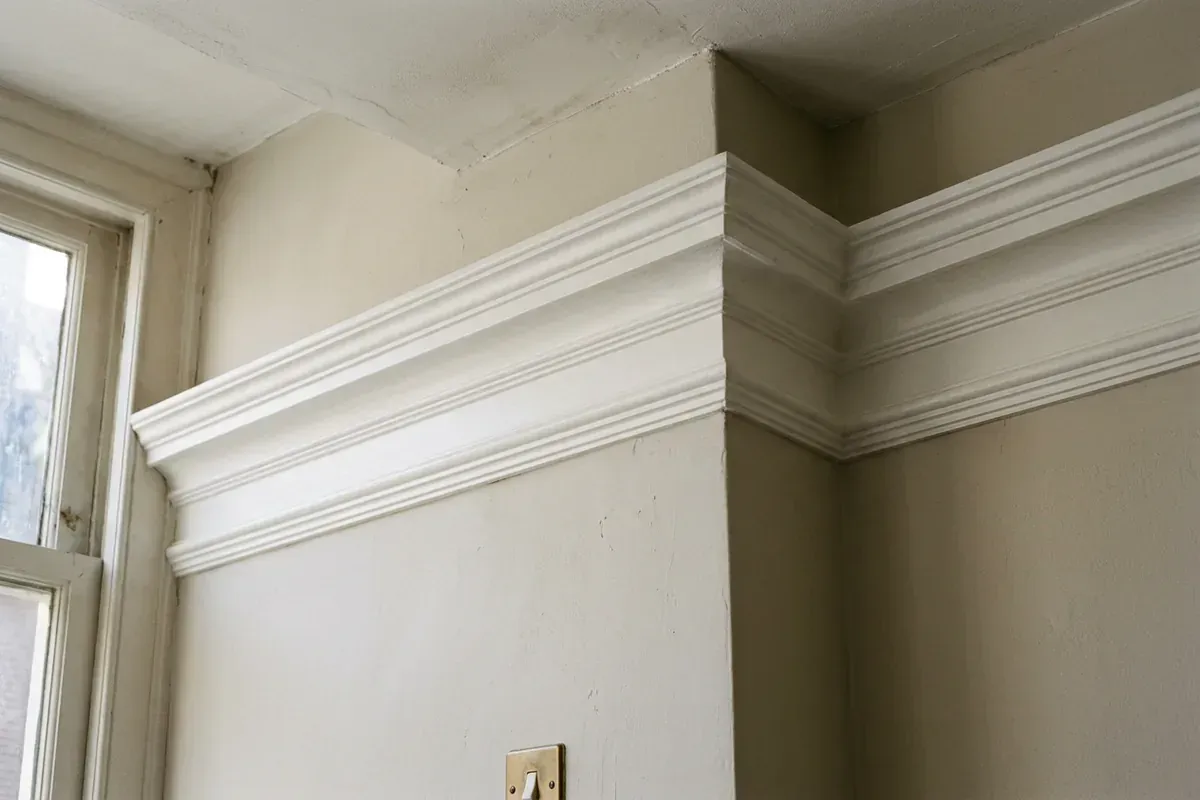
Decorative moulding
A decorative moulding is an ornamental profile on a wall or ceiling. It gives a room character, from classic ornament to a sleek modern line.
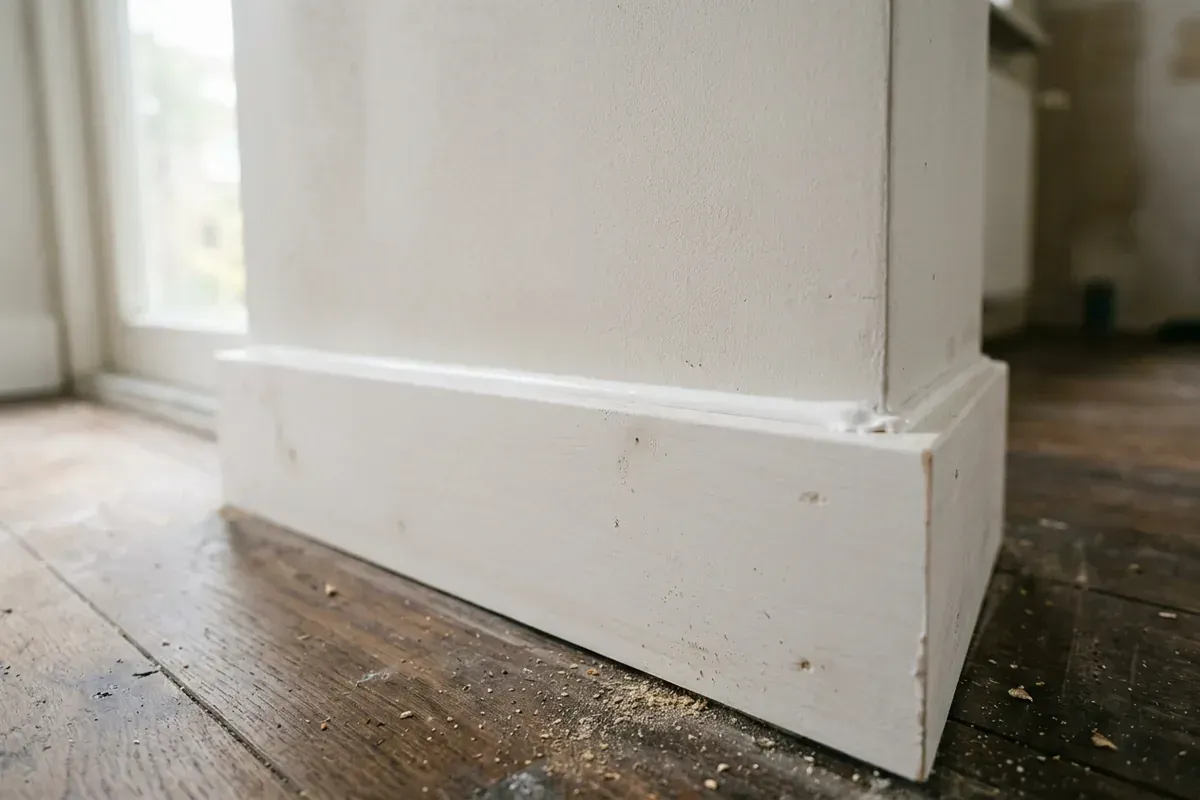
Acrylic caulk
Acrylic caulk is a water-based sealant that can be painted once cured. It is the usual choice for skirting boards, mouldings and frames in dry rooms.
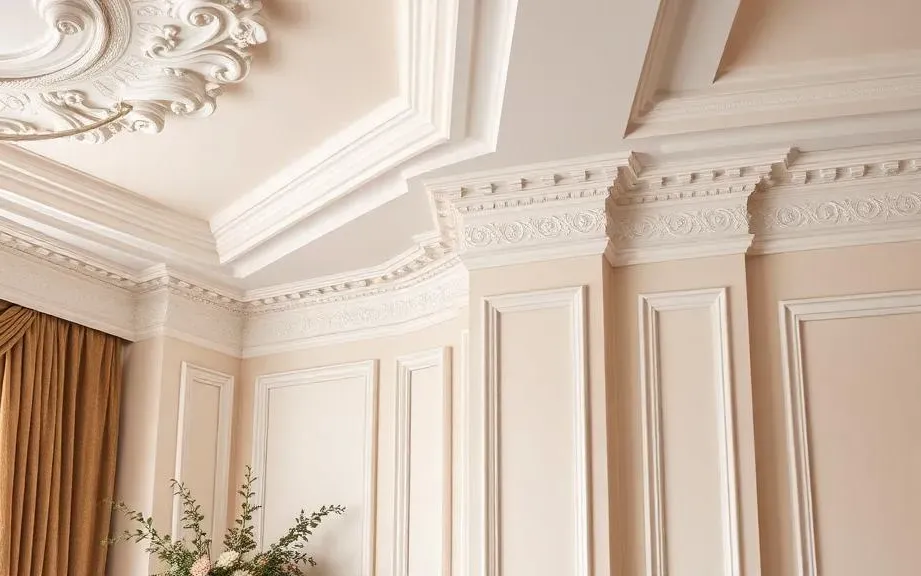
Decorative mouldings and coving installation
Decorative mouldings and coving give a room character. TipTop Plinten fits them in classic or minimal modern styles, with precise mitres and clean caulking.
Skirting board installation? Request a free quote
On-site measurement €75 incl. VAT (credited for orders above a minimum project size)