
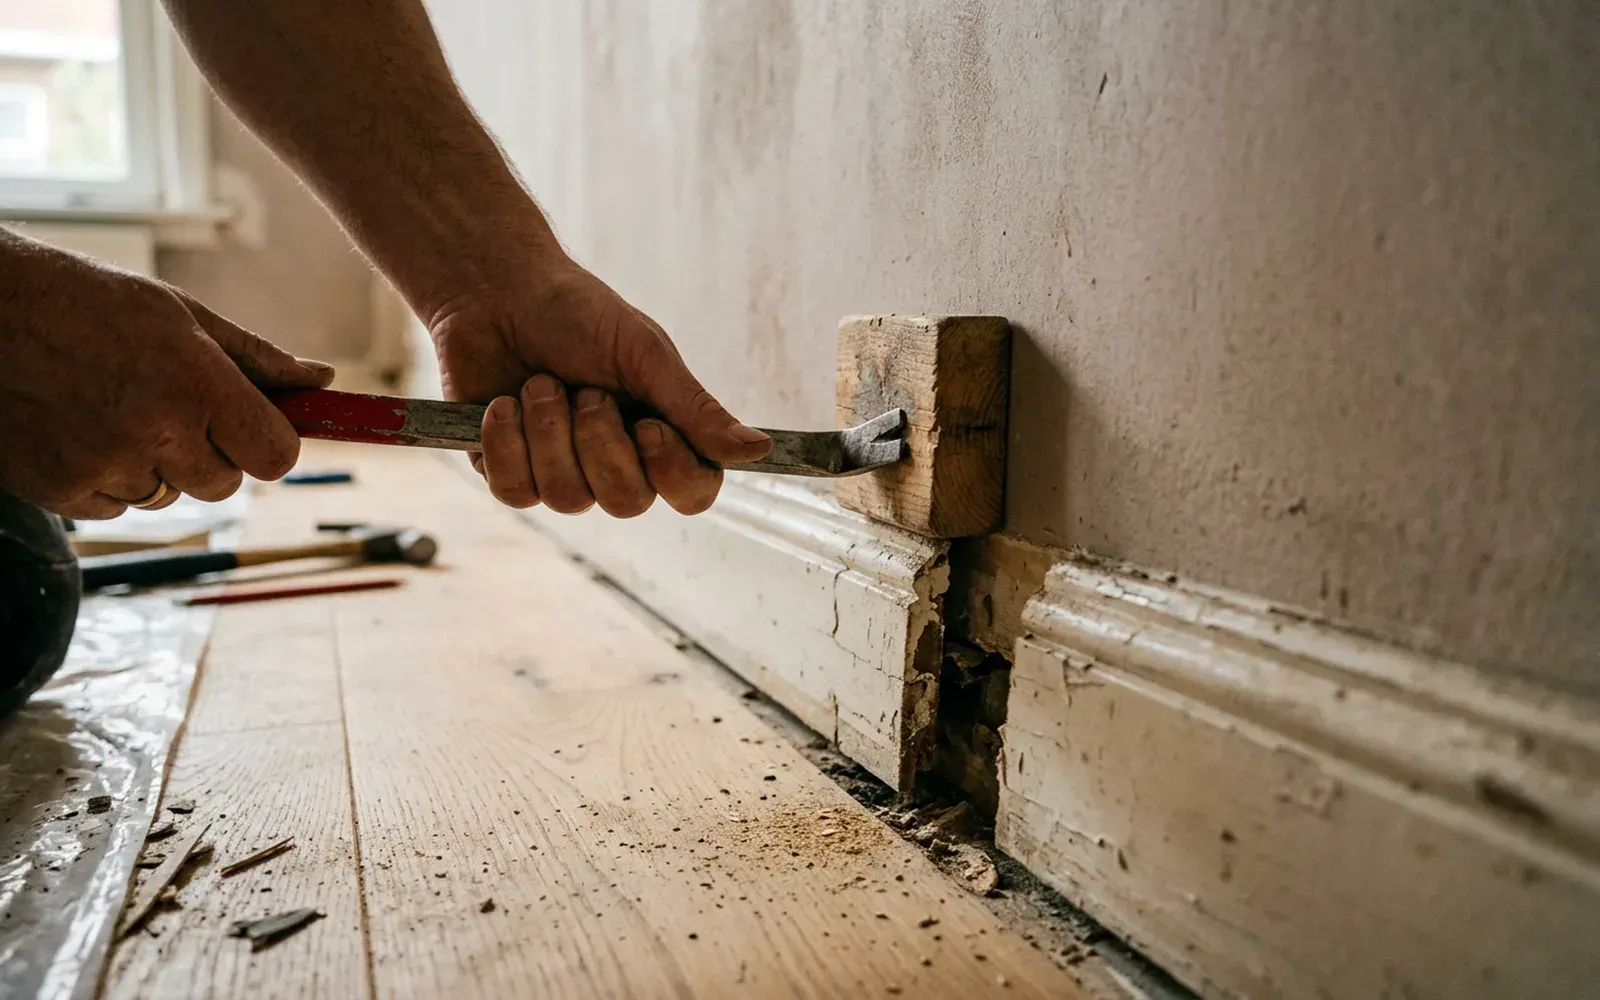
Removing skirting boards without damage takes four steps: cut through the caulk line and paint layer between the skirting board and the wall, find out how the skirting board is fixed (adhesive, screws or nails), prise it off carefully with a flat pry bar and a wooden block for protection, and finally remove adhesive and caulk residue and make good the wall. If you rush or start prising straight away, you will pull off chunks of plaster or paint and sometimes damage the floor as well.
Below you can read, step by step, how to remove old skirting boards neatly and what you need to check afterwards before new skirting boards go on.
Why remove them carefully?
When removing skirting boards, three things are vulnerable:
- The wall. Plaster or a skim coat can crumble when prising, and a paint layer will tear if the caulk line has not been cut through.
- The floor. A pry bar resting on the floor quickly leaves a dent or scratch in parquet, laminate or vinyl.
- Cables and pipes. Cables may run behind or just above a skirting board, especially in older homes where wiring is sometimes hidden behind the skirting.
The less damage, the less making good is needed before the new skirting board can be fitted.
What tools do you need?
- a sharp utility knife or a multi-tool with a cutting blade;
- a flat pry bar or a wide scraper;
- a few wooden blocks or a piece of plywood to protect the wall;
- a screwdriver or cordless drill;
- a filling knife and sandpaper for adhesive residue;
- work gloves and a vacuum cleaner.
Step 1: cut through the caulk line
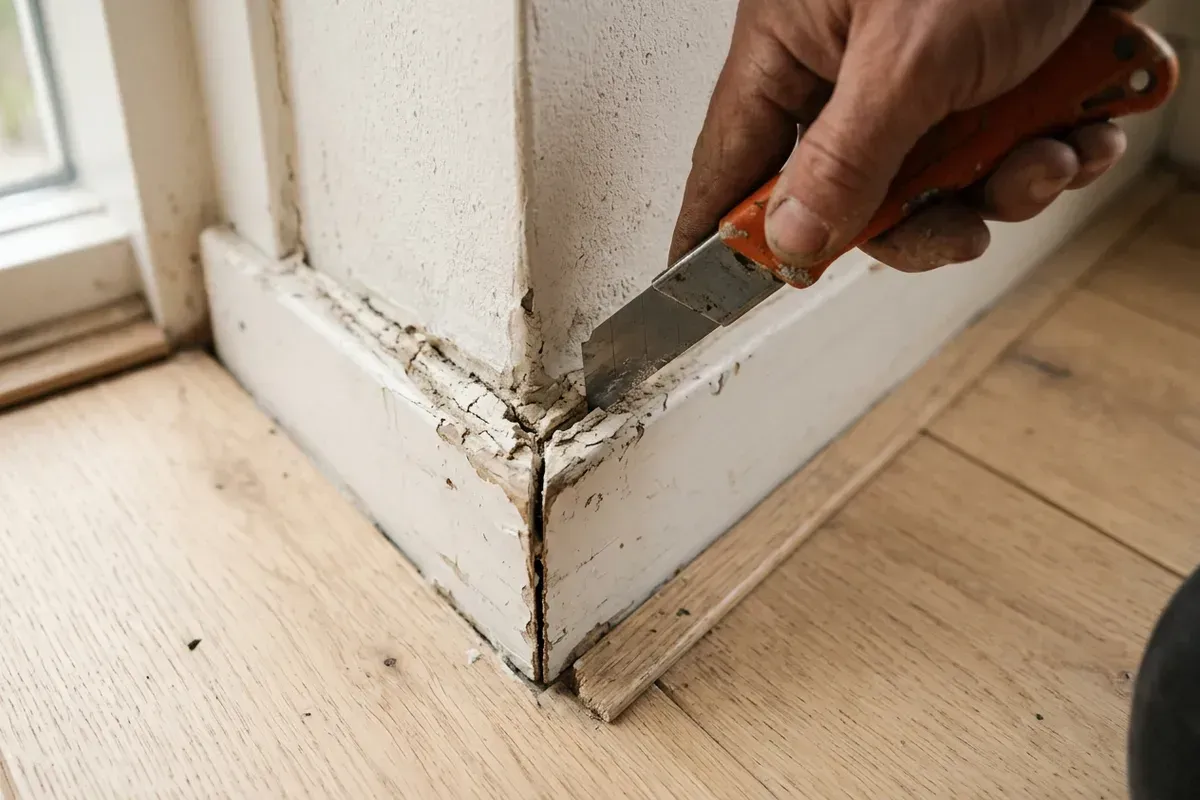
Use a utility knife to cut along the top of the skirting board, through the caulk and the paint layer. Do the same at mitres in the corners and where the skirting board meets a door frame. This prevents the paint or plaster from tearing off the wall when you pull the skirting board away.
If the bottom edge has been caulked too, cut through that joint as well, without cutting into the floor.
Step 2: find out how the skirting board is fixed
Skirting boards are glued, screwed, nailed or fixed with a combination of these. You can read more about the different methods in fixing skirting boards: glue, screws or nails.
- Screws: look for small painted-over or filled spots on the front. Scrape away the filler and unscrew the screws first.
- Nails: these usually come loose when you gradually prise the skirting board away from the wall.
- Construction adhesive: this requires patience. Work in small steps so that the adhesive lets go without taking the wall with it.
Step 3: prise it off carefully
Start at one end or at a mitre. Place a wooden block against the wall and position the pry bar against it, so that the force does not go directly onto the plaster. Prise the skirting board a little way off the wall, move along a bit and repeat. Work your way along the full length like this.
Tips:
- Do not lever against the floor. If necessary, place a thin board on the floor under the pry bar.
- Long skirting boards in sections. You can cut a long, glued skirting board into pieces if needed, so that you need less force.
- Watch out for cables. If the skirting board will not come loose at a spot where you suspect a cable, do not force it.
Step 4: remove adhesive and caulk residue
After removal, beads of adhesive, caulk residue and paint are often left on the wall. Carefully scrape them off with a filling knife and sand the area smooth. Old caulk must be removed completely, especially if it was silicone sealant: new acrylic caulk and paint will not adhere to it. You can read more about the types of sealant in the glossary under caulking.
Step 5: check the wall and floor
Before the new skirting boards are fitted, check:
- Holes: fill screw and wall plug holes.
- Damaged plaster: repair minor damage so that the new skirting board can sit flat against the wall.
- Height difference: if the new skirting board is lower than the old one, a strip of unpainted wall will become visible. In that case, plan in some painting.
- The floor: with a new floor, check the expansion gap along the wall. It must remain clear and is covered by the new skirting board.
Common mistakes when removing skirting boards
- Not cutting through the caulk line first. The paint layer and sometimes the plaster tear off with it.
- Prising directly against the wall. Without a wooden block, the pry bar presses a dent into the wall.
- Levering against the floor. Parquet and vinyl in particular are prone to dents and scratches.
- Overlooking screws. A screwed skirting board that you pull off will tear large chunks out of the wall or break out the wall plugs.
- Leaving old caulk in place. Silicone residue prevents new caulk and paint from adhering.
Removal or an overlay skirting board?
An old skirting board does not always have to go. An overlay skirting board is fitted over the existing skirting board and can be a solution if the old one is flat and firmly fixed and you want to limit renovation mess. If a new floor is going down, or the old skirting board is loose or damaged, removing it is usually better. You can read how to weigh this up in overlay skirting boards: when do they make sense?
Having them removed and new skirting boards fitted straight away
You can remove old skirting boards yourself, but you can also have it included when new skirting boards are fitted. Mention in your enquiry whether old skirting boards need to come out; this is one of the factors that determine the work involved. You will find all the factors listed in skirting board installation cost: what does it depend on?
When fitting new skirting boards in an existing home, such as the house in Monster where all the skirting boards were fitted, a clean result starts with a clean, flat surface. On skirting board installation you can read which skirting boards and finishes are possible.
Request a quote
Would you like to have old skirting boards replaced? Send photos of the current skirting boards and the floor, along with an estimate of the number of metres, via contact. The quote is free and without obligation. An on-site measurement is optionally available for €75 incl. VAT and is credited on jobs above a minimum project size. We are happy to communicate in English, and also in Dutch, German, Turkish, Persian and Arabic.
Frequently asked questions
First cut through the caulk line and paint layer between the skirting board and the wall. Then carefully prise behind the skirting board with a flat pry bar and a wooden block for protection, working each length from one end towards the middle. Remove adhesive residue from the wall afterwards with a filling knife or by sanding lightly.
Look for small filled or painted-over spots on the front of the skirting board, often at regular intervals. Unscrew any screws before you start prising. Nails usually come loose when you gradually pull the skirting board away from the wall.
In some cases, an overlay skirting board can be fitted over the existing one. This mainly makes sense if the old skirting board is flat and firmly fixed. If the skirting board is loose or damaged, or a new floor is going down, removing it is usually the better choice.
Remove loose adhesive and caulk residue, fill holes from screws or wall plugs and check whether the wall is flat enough for the new skirting board. If the new skirting board will be lower or higher than the old one, the visible part of the wall may need touching up.
Mention in your enquiry whether old skirting boards need to be removed. This is then included in the quote, since removal and making good the wall affect the work involved.
Related articles
Installation & finishing
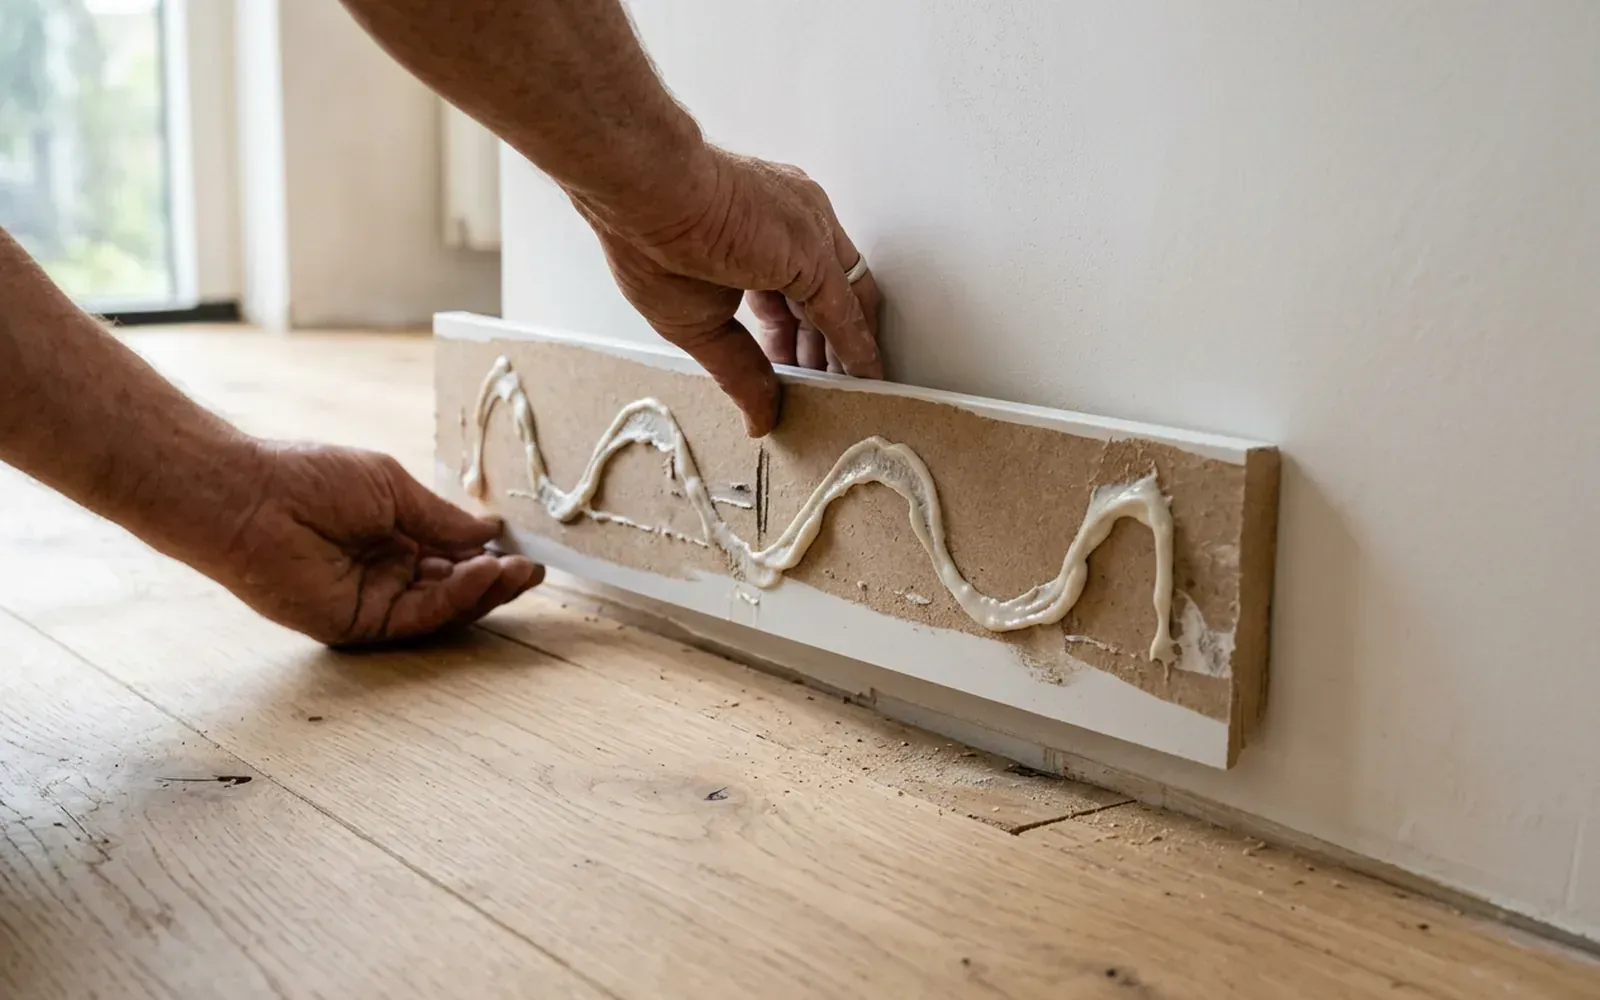
Fixing skirting boards: glue, screws or nails?
Glue, screws or nails: the right fixing depends on the wall, the skirting and the floor. Here is how to choose a method that stays put.
Choosing skirting
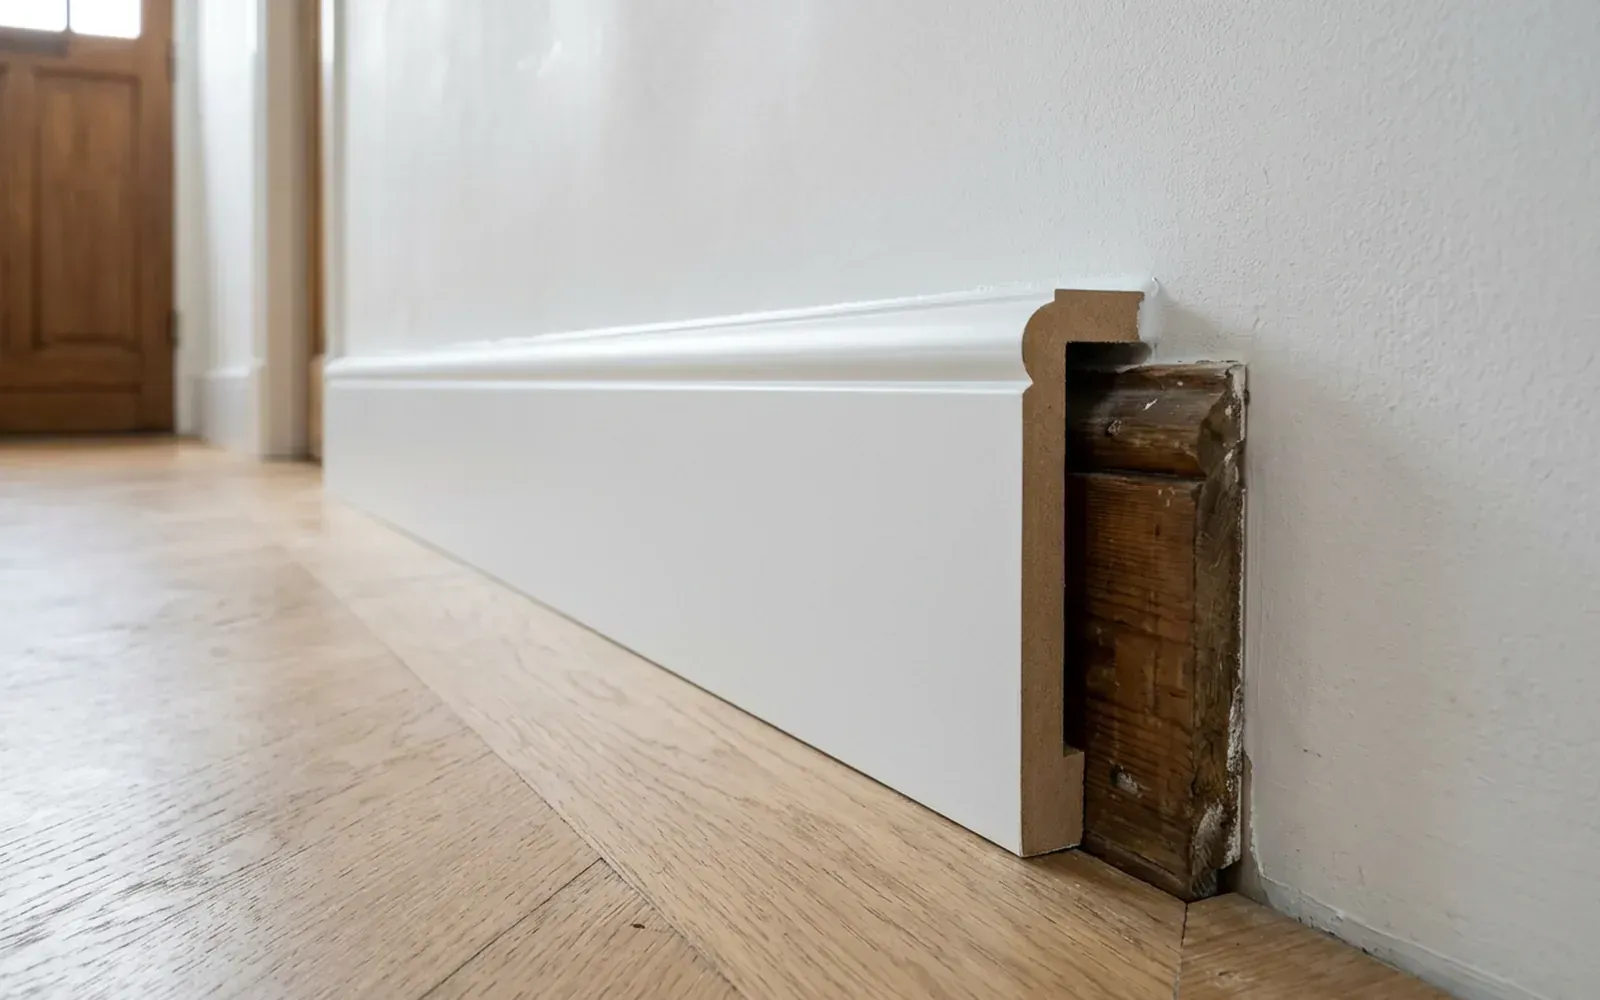
Overlay skirting boards: when are they a smart choice?
Removing old skirting can damage plaster or tiles. Overlay skirting goes over the top instead. Here is how to tell whether that is sensible in your situation.

Costs & process
Skirting board installation cost: what does the price depend on?
The cost of having skirting boards fitted depends on metres, corners, material, height, wall surface and finish. Here is how to get a quote that is accurate.
Related
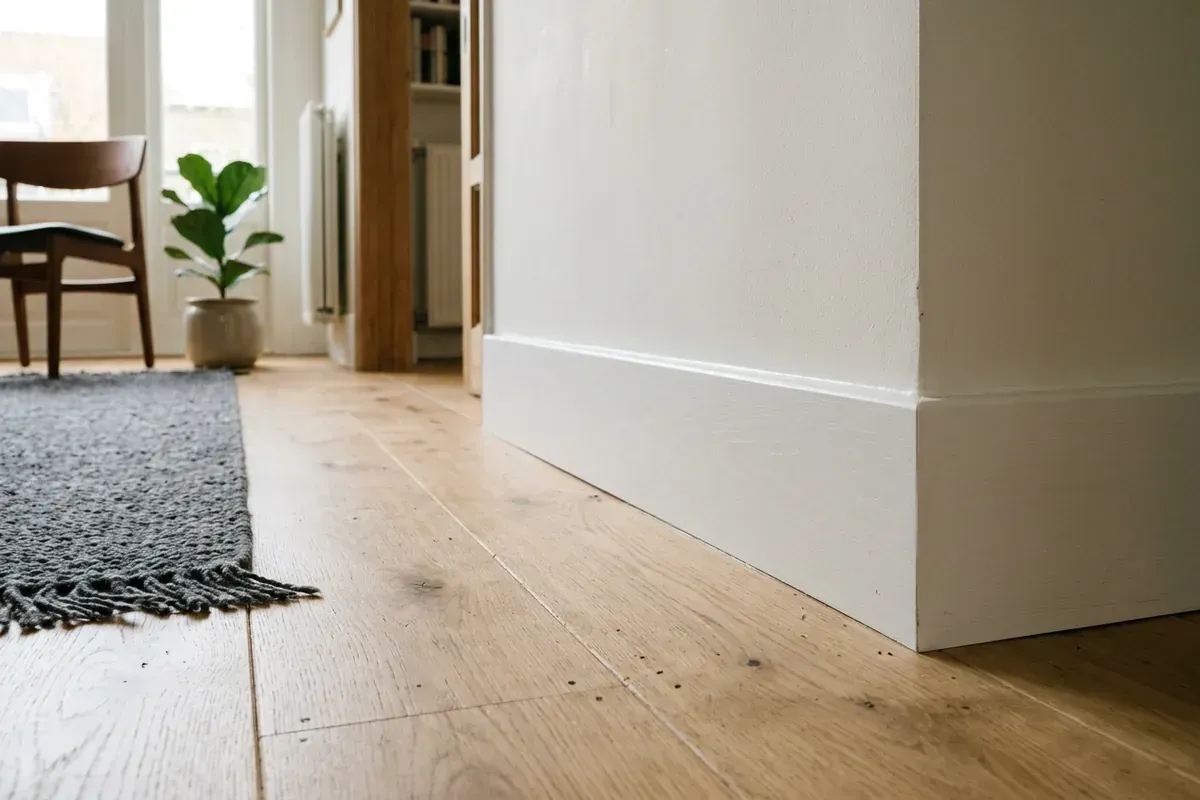
Skirting board
A skirting board is the moulding at the base of the wall that finishes the transition to the floor and protects the wall. Here is how it works and what to look out for.
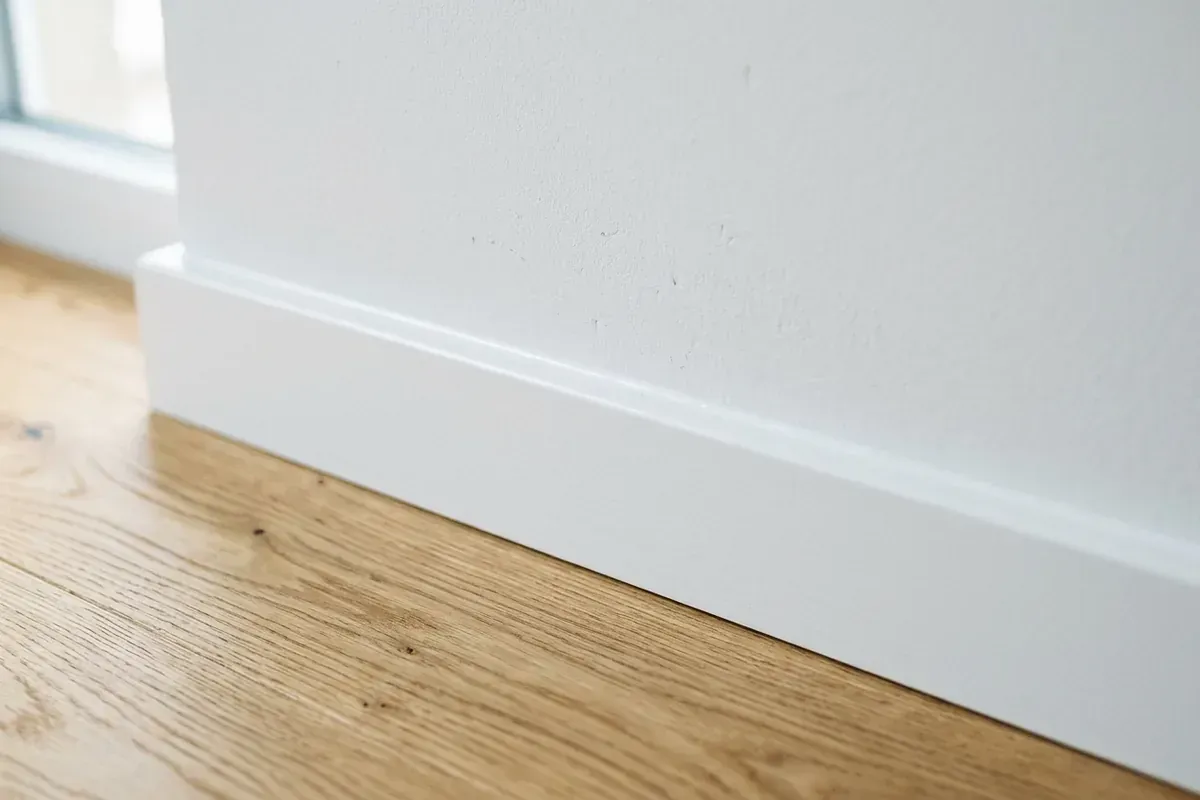
Caulking
Caulking means sealing joints with a flexible sealant. With skirting boards and mouldings, it makes the transition to the wall crisp and seamless.
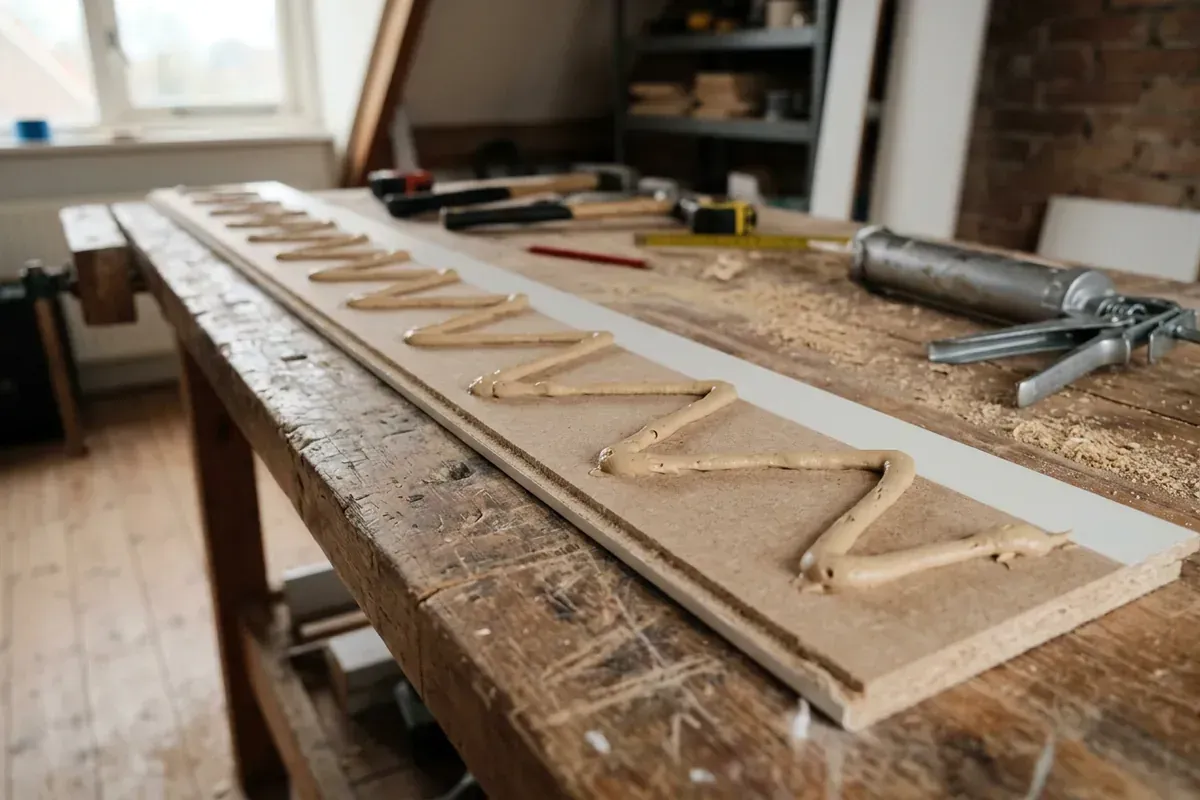
Construction adhesive
Construction adhesive is a strong glue or sealant used to fix skirting boards, mouldings and panels to the wall, often combined with nails or screws.
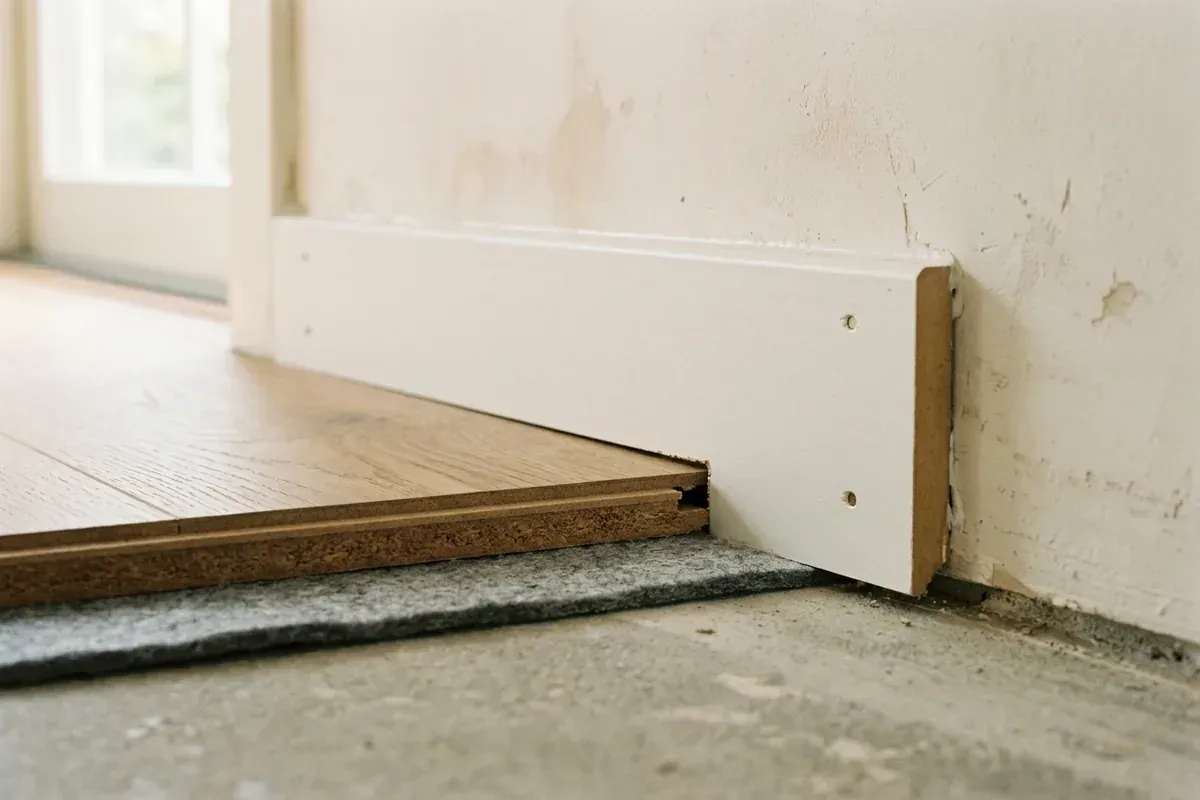
Expansion gap
An expansion gap is an open space along the edge of a floor, so it can expand and contract. The skirting board covers the gap without fixing it.
Skirting board installation by a specialist skirting fitter
TipTop Plinten fits skirting boards in MDF, solid wood and aluminium, finished in any RAL colour and neatly matched to any floor, even with uneven walls.
Skirting board installation? Request a free quote
On-site measurement €75 incl. VAT (credited for orders above a minimum project size)