
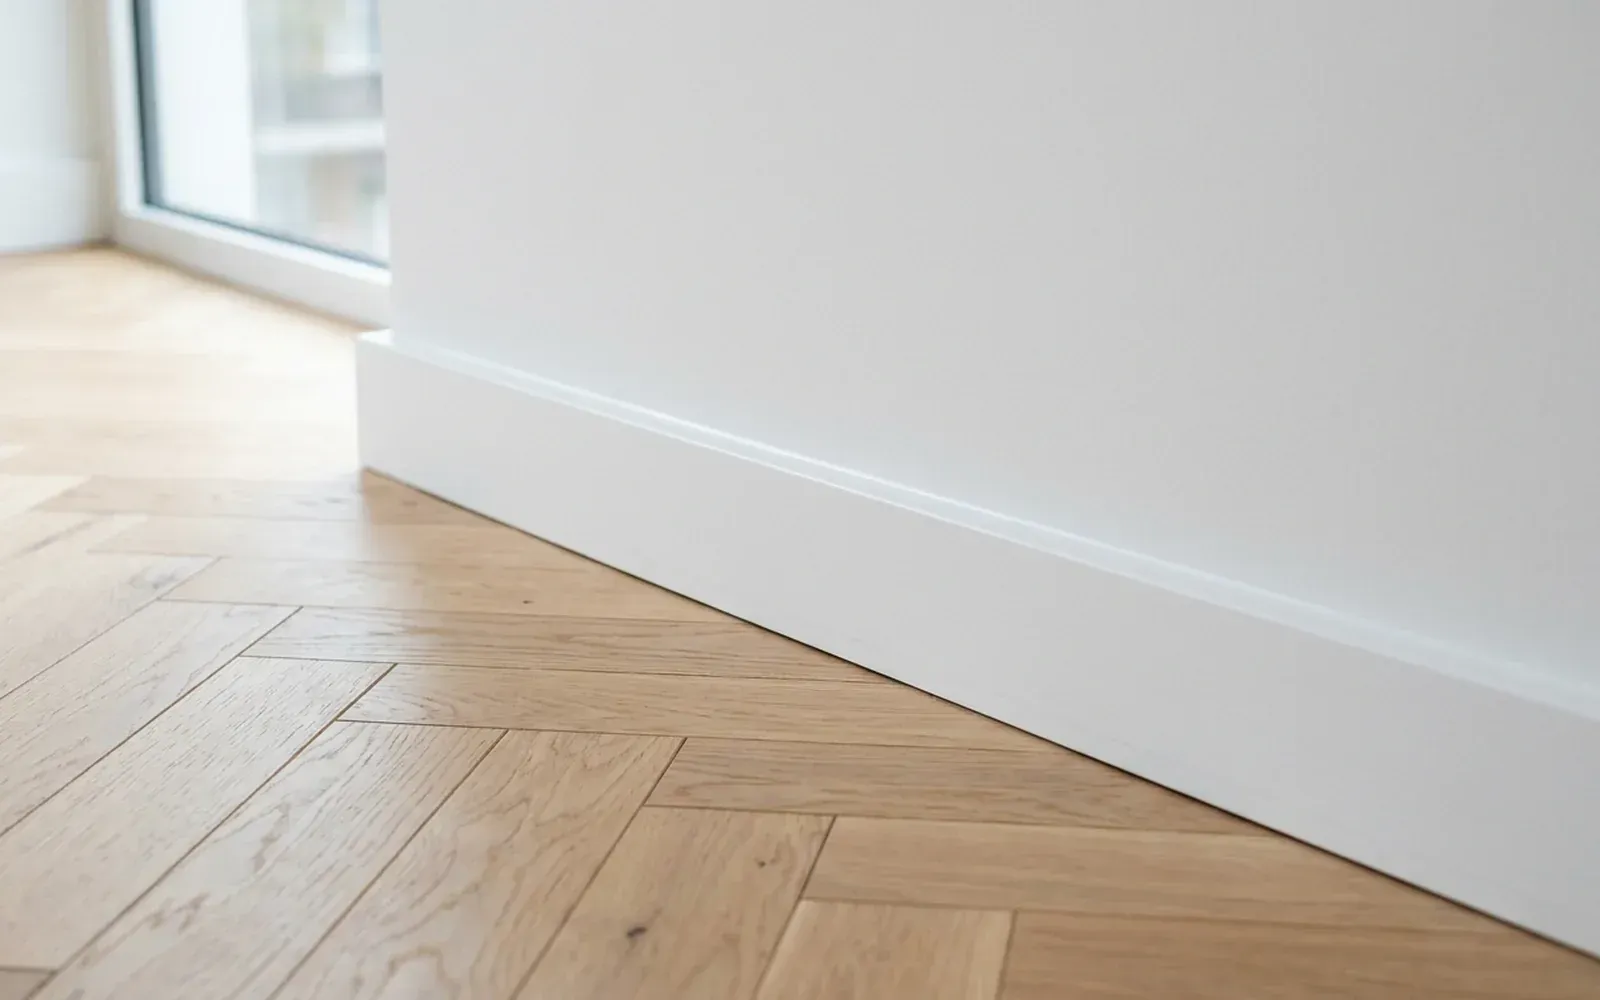
Finishing skirting boards means that after installation you caulk the joint between skirting and wall with paintable acrylic caulk, fill nail or screw holes and sand them flush, touch up the mitres and then lacquer or paint everything in colour. With a floating floor, the skirting is usually not sealed to the floor. The difference between installed skirting and finished skirting lies precisely in these steps: afterwards, joints and fixing points can no longer be seen.
Below you can read how each part of the finishing is done and which mistakes are best avoided.
Why is the finish so important?
Walls are rarely perfectly flat. As a result, there is almost always a small gap between skirting and wall, which shows as a shadow line in raking light. In addition, every nail or screw leaves a hole, and a mitre is rarely completely seamless after cutting. Finishing solves all of this. A neat finish gives you:
- a calm line along the wall, without shadow gaps;
- less dust and dirt behind the skirting;
- one whole in which skirting, wall and corners flow into each other.
Step 1: the joint between skirting and wall
The top joint is the most important part of the finish.
Which sealant?
Above the skirting you use paintable acrylic caulk. Once dry, it can be painted in the colour of the skirting or the wall. Silicone sealant cannot be painted and therefore does not belong in a joint you want to paint over. Silicone is mainly used in wet zones, such as around sanitary ware. You can read the difference in detail in caulking skirting boards: which sealant?.
How the caulking is done
- Remove dust. The joint and surface must be clean and dry.
- Apply the caulk. An even, unbroken bead in the joint.
- Tool it off. The caulk is smoothed to give a neat concave or straight joint.
- Let it dry. Only once dry can the joint be painted.
How wide can the joint be?
Caulk is intended for small joints. If the gap between skirting and wall is large, caulk alone is not a good solution: a joint that is too thick shrinks, cracks or stands out. On uneven walls, the skirting is therefore first made to fit as closely as possible, after which the remaining joint is caulked.
Step 2: the bottom of the skirting
Sealing along the bottom is not a standard step.
- With a floating floor, such as laminate and many vinyl floors, the floor needs to be able to expand and contract. The skirting is fixed to the wall and not sealed to the floor, so the floor stays free.
- With a fixed floor, such as tiles, a glued-down vinyl floor or a poured floor, a joint along the bottom is sometimes possible. Whether it makes sense depends on the floor and how you clean it.
You can see how this works with a herringbone floor in the project herringbone skirting in Oss, where crisp MDF skirting boards were finished with caulking.
Step 3: nail and screw holes
If skirting is fixed mechanically, holes are left behind. They are finished like this:
- Countersink. The nail or screw sits just below the surface.
- Fill. The hole is filled with a filler suitable for MDF or wood.
- Sand flush. Once dry, the filler is sanded flush.
- Touch up. The spot is painted in the colour of the skirting.
Skirting fixed with construction adhesive has few or no holes. On uneven walls, a combination of adhesive and mechanical fixing is often used.
Step 4: mitres and corners
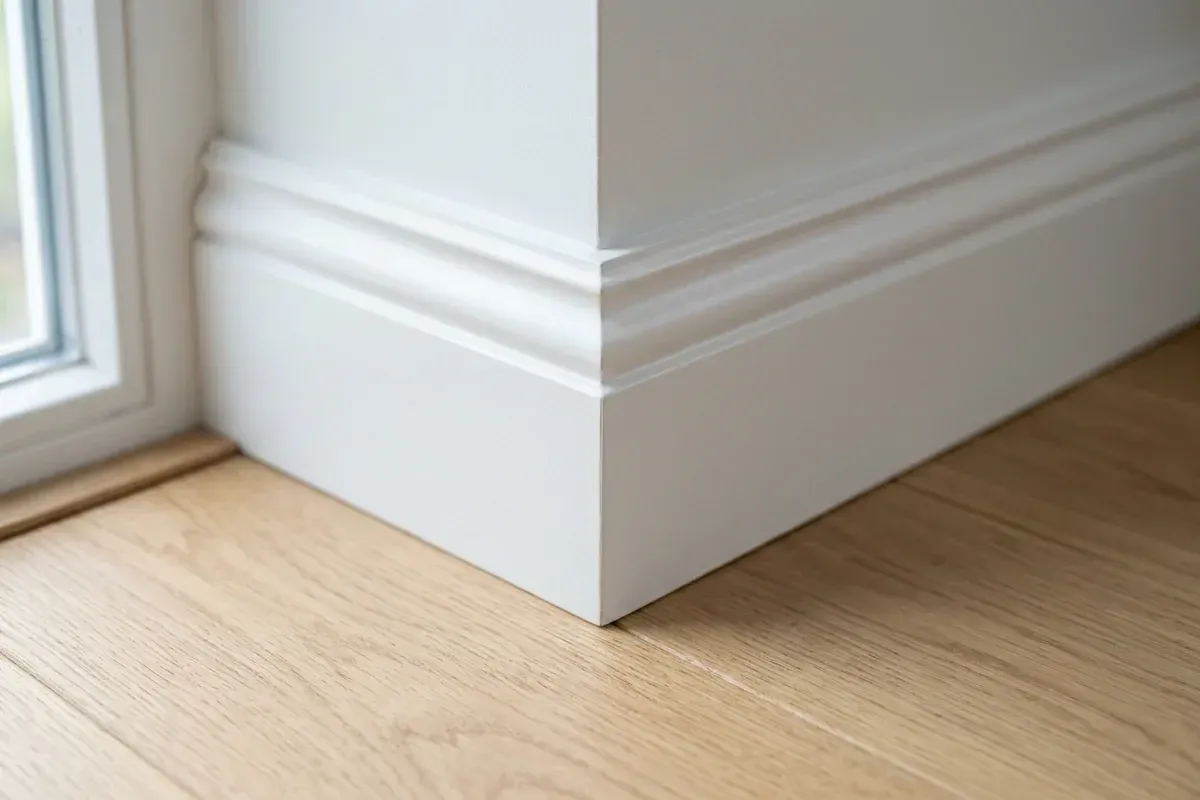
A mitre is the angled joint where two skirting boards meet in a corner. After cutting and fitting, a hairline joint may still be visible.
- External corners are preferably glued, so the two pieces do not pull apart. A small gap is filled, sanded and touched up.
- Internal corners are often lightly caulked with acrylic caulk, so they can follow small movements of the wall.
- Long runs joined lengthways get an angled scarf joint that is barely visible after filling.
You can read more about cutting and fitting corners in mitre cutting skirting boards.
Step 5: ends and junctions
Where a skirting board stops, for example at a door frame, a staircase or an open end, it needs a tidy finish. Skirting that stops against an architrave gets a clean, straight cut. Skirting that ends freely can be finished with an end cap or an angled return, so that no rough saw cut is visible.
Step 6: lacquering or painting
Finally, everything is finished in colour. There are two common routes:
- Pre-finished skirting. The skirting has been lacquered in advance. After installation, only joints, mitres and holes are touched up locally.
- Paint-ready skirting. The skirting is fitted in primer and then painted in full, including the caulk joint.
Which route suits depends on the schedule and who does the painting. In painting skirting or pre-finished? the differences are set out side by side.
Finishing existing skirting boards
Skirting boards that have been in place for years can also be refinished. A cracked caulk joint, mitres that have come apart or holes showing through the paint can often be repaired well. The old caulk is removed, the joint cleaned and re-caulked, and damaged spots are filled and touched up. That way you get a clean line along the wall again without new skirting.
Common finishing mistakes
| Mistake | Result |
|---|---|
| Silicone above the skirting | The joint cannot be painted |
| Caulking onto a dusty surface | The caulk adheres poorly and comes loose |
| A joint that is too wide | Shrinkage, cracks or a visible bead |
| Sealing skirting to a floating floor | The floor cannot move, risk of damage |
| Not sanding holes flush | Bumps visible after painting |
Having the finishing done for you?
Caulking and finishing can be included with installation, or carried out separately on existing skirting. Take a look at our caulking or skirting board installation service; you can find more background in the glossary under caulking. Send photos of the skirting, joints and corners and an estimate of the number of running metres via the contact page. The quote is free and without obligation. An on-site measurement is optional for €75 incl. VAT, credited as a discount on jobs above a minimum project size. We are happy to communicate in English, as well as Dutch, German, Turkish, Persian and Arabic.
Frequently asked questions
The joint between skirting and wall is sealed with paintable acrylic caulk, nail or screw holes are filled and sanded flush, mitres are touched up, and finally everything is lacquered or painted in colour. That way joints and fixing points are no longer visible.
Above the skirting, between skirting and wall, paintable acrylic caulk is used. Silicone sealant cannot be painted and is therefore less suitable for a joint you want to paint over.
With a floating floor, such as laminate or many vinyl floors, the skirting is usually not sealed to the floor, so the floor can keep moving. With a fixed floor, a joint along the bottom is sometimes possible, depending on the situation and how you clean.
With a filler suited to the material. Once dry, it is sanded flush and touched up in the colour of the skirting. On pre-finished skirting this is done locally, so the rest of the paint stays intact.
Often because of movement in the wall or floor, a joint that is too thin or too wide, or caulk applied to a dusty or damp surface. Good preparation and the right sealant reduce that risk.
Related articles
Installation & finishing
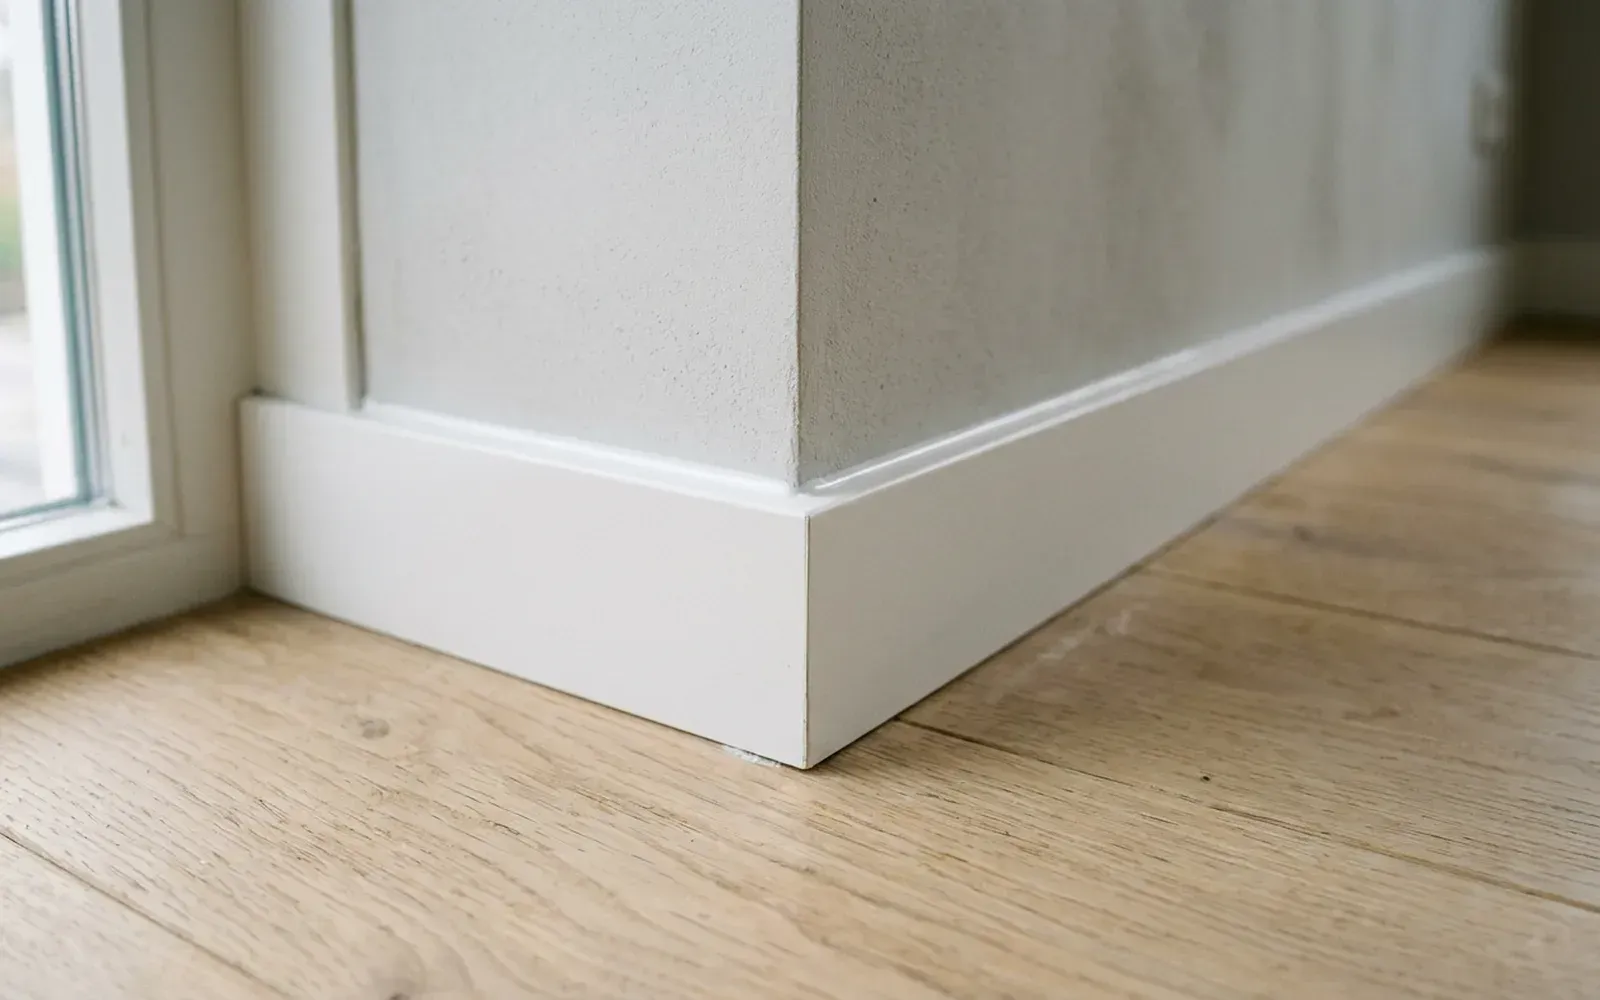
Caulking skirting boards: which sealant should you use and how do you get a neat finish?
For the joint between skirting board and wall you use paintable acrylic caulk, and silicone only where water is involved. Here is how to run a clean caulk line.
Installation & finishing
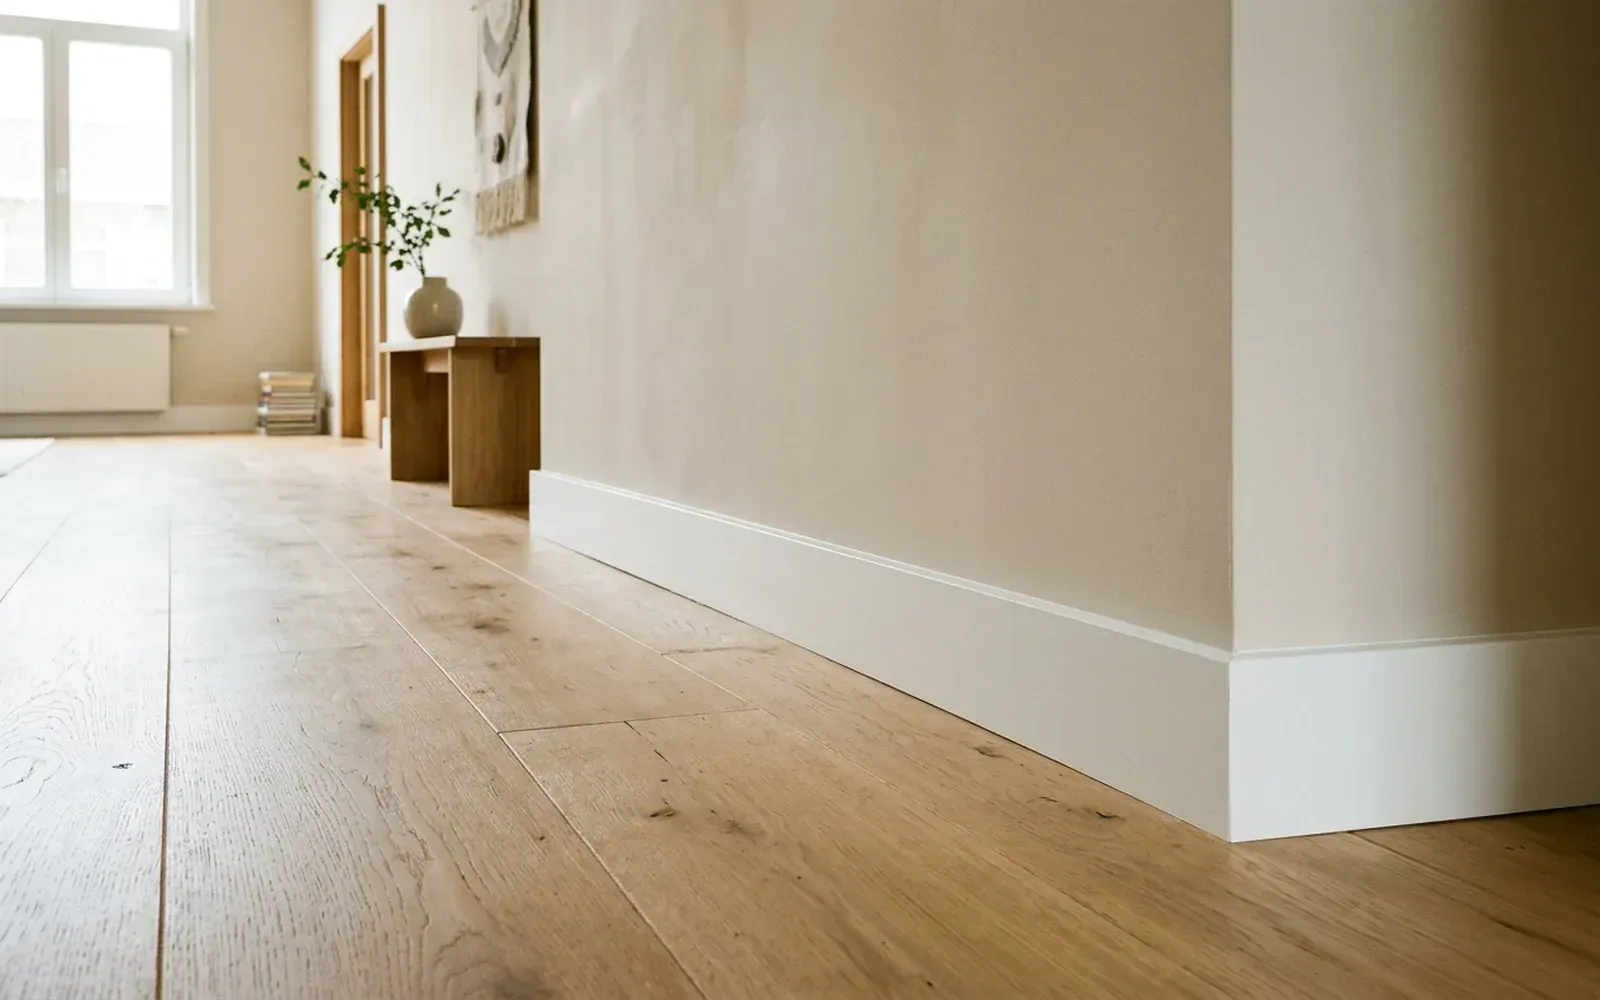
Painting skirting boards or choosing pre-finished: which is the smarter option?
Pre-finished skirting boards are ready straight away, while painting them yourself gives more freedom in colour. Here is how to choose and how to paint skirting boards neatly.
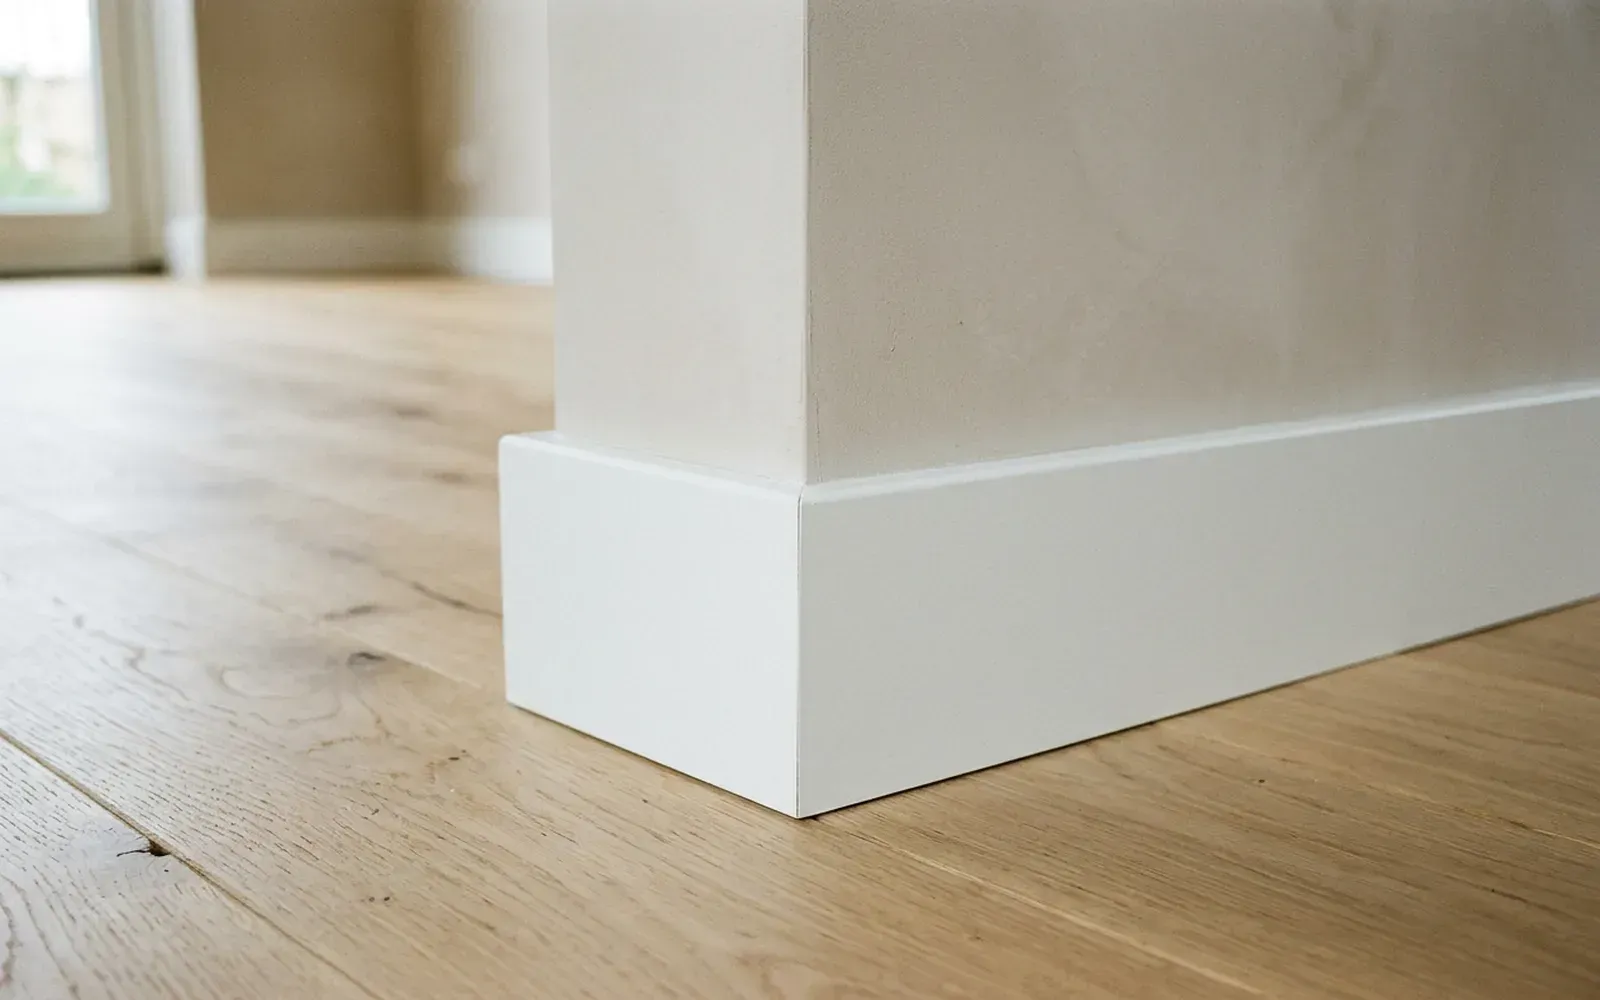
Installation & finishing
Mitre cutting skirting boards: how to get tight corners
For a square corner you cut both skirting boards at 45 degrees; for any other angle you halve the measured angle. That is how you get tight internal and external corners.
Related
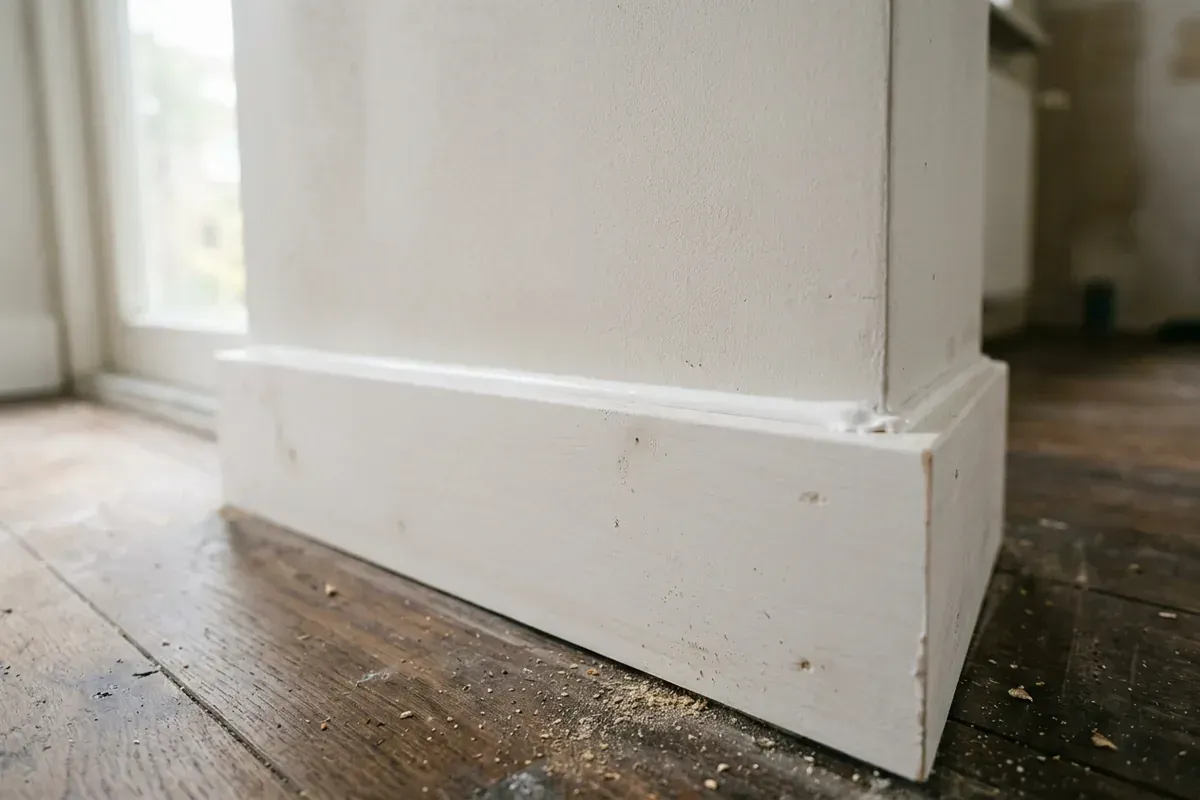
Acrylic caulk
Acrylic caulk is a water-based sealant that can be painted once cured. It is the usual choice for skirting boards, mouldings and frames in dry rooms.
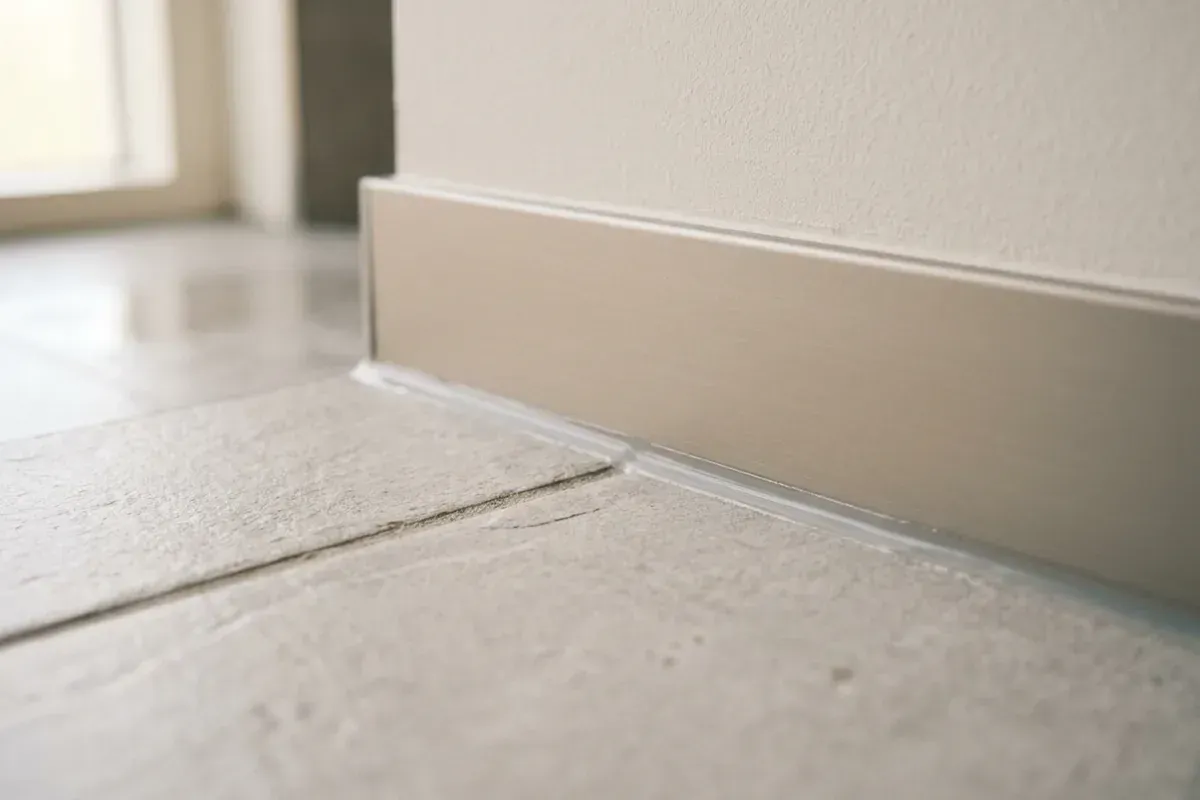
Silicone sealant
Silicone sealant is highly flexible and water-resistant, but cannot be painted. It belongs in wet rooms, not along painted skirting boards.
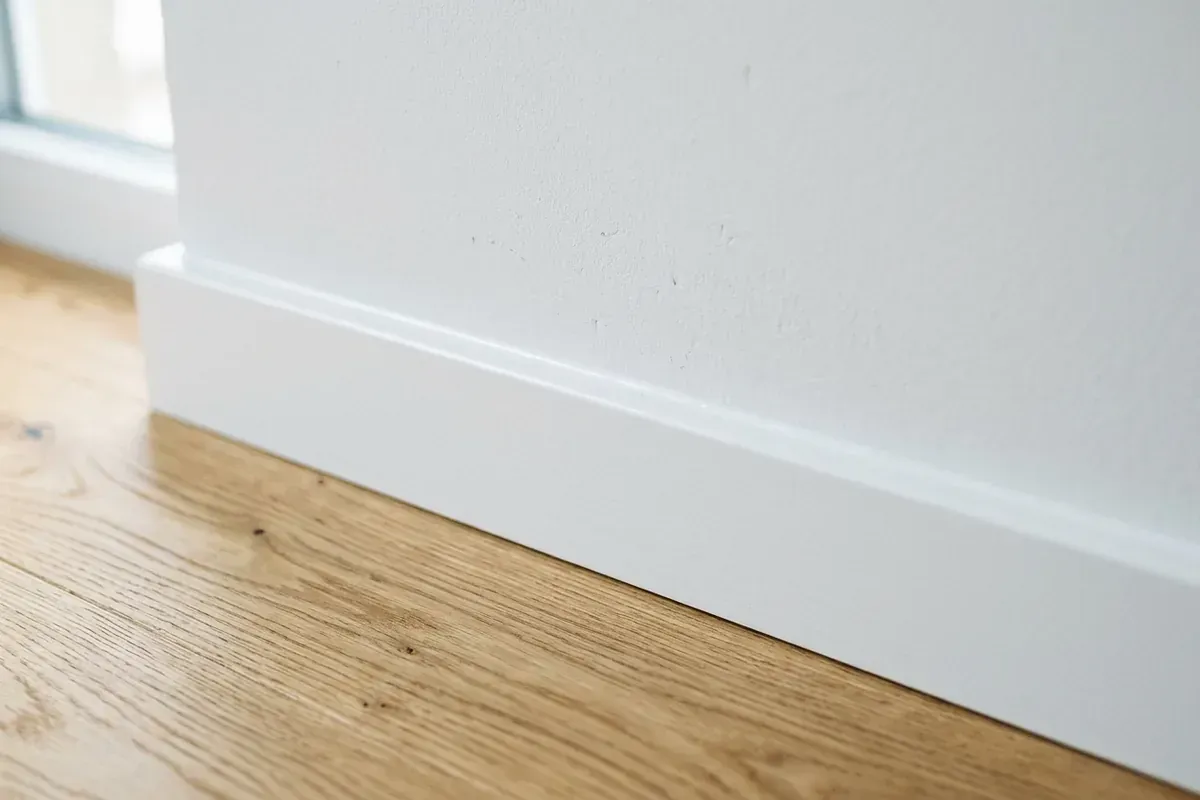
Caulking
Caulking means sealing joints with a flexible sealant. With skirting boards and mouldings, it makes the transition to the wall crisp and seamless.
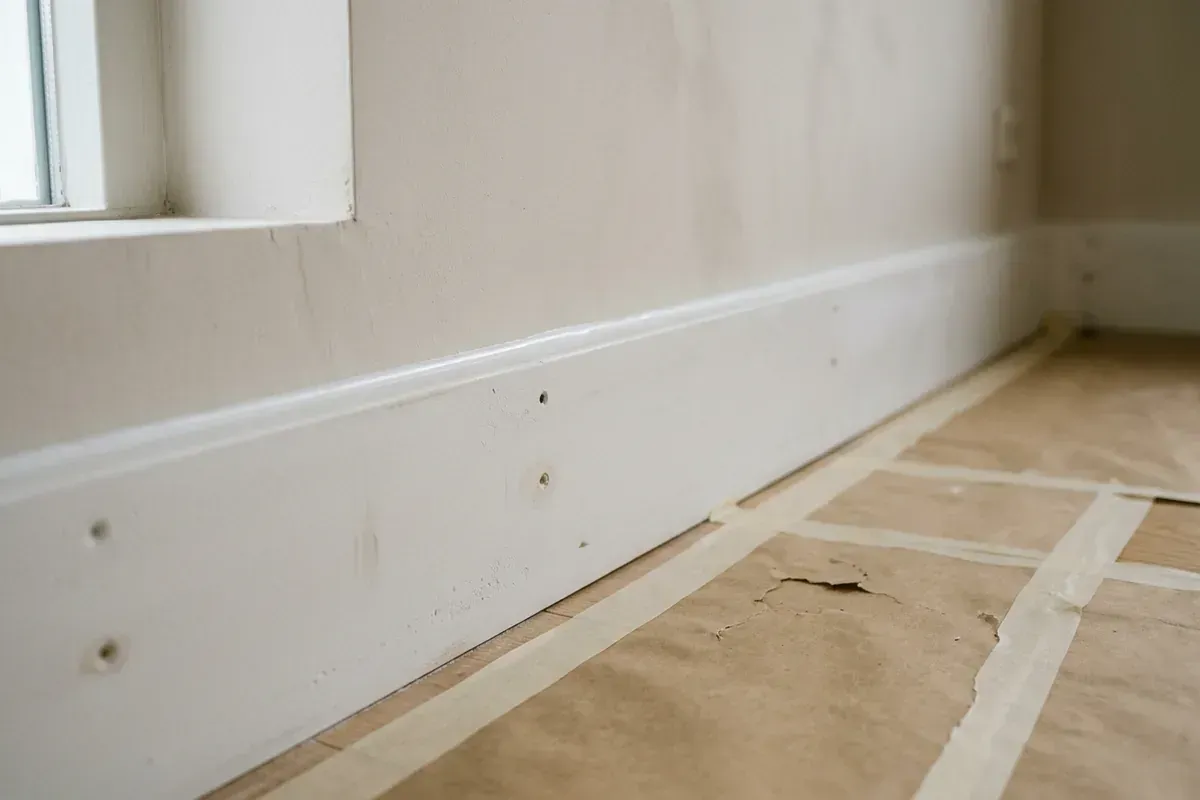
Paint-ready
Paint-ready means skirting boards and mouldings have been fitted, filled and caulked, so only the final coat of paint still needs to be applied.
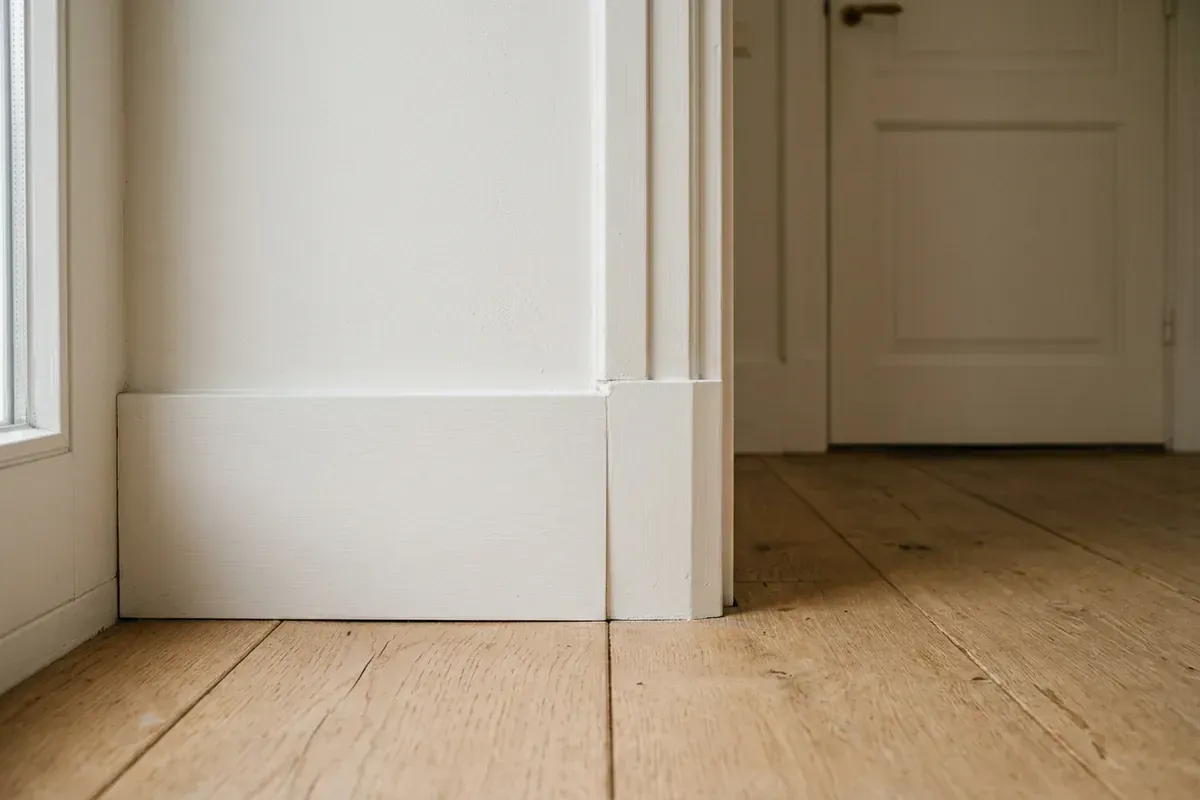
Skirting end
A skirting board that stops somewhere needs a neat finish. That can be a mitred return, an end cap or a junction with an architrave.
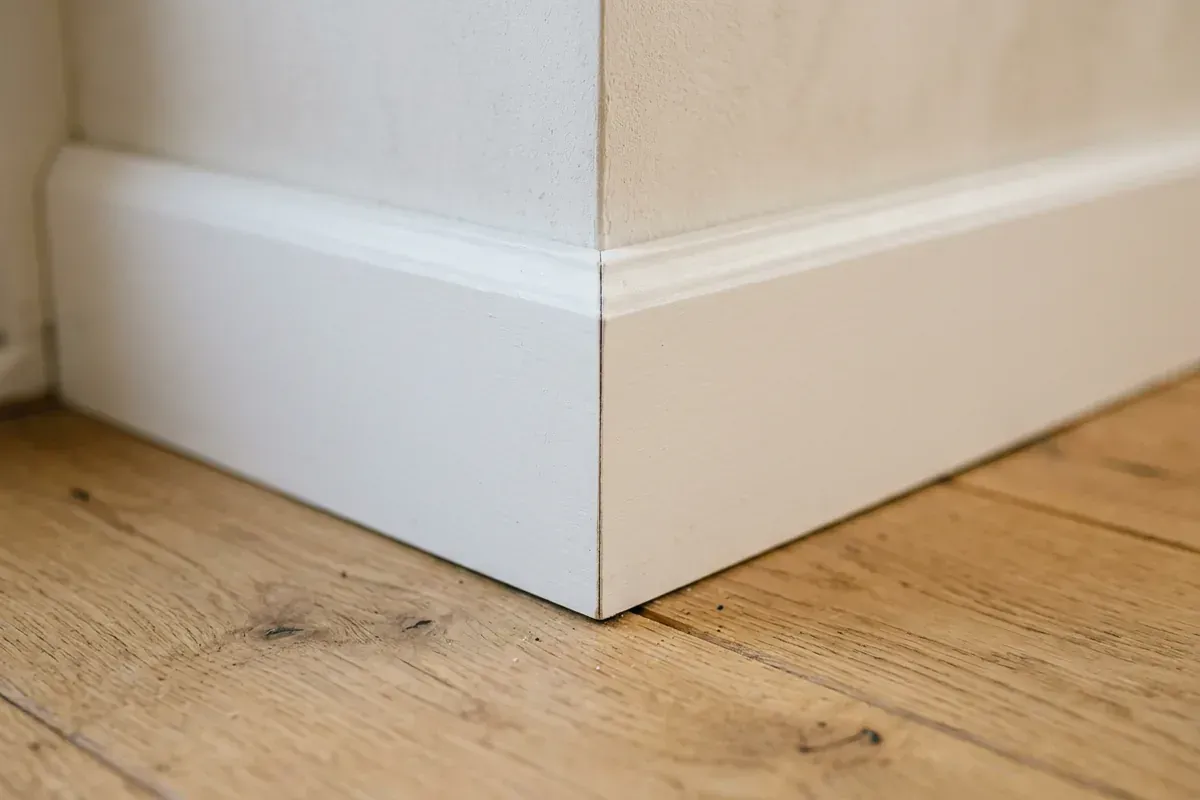
Mitre joint
A mitre is an angled cut that lets two mouldings meet seamlessly in a corner. For a right angle, that is usually 2 x 45 degrees.
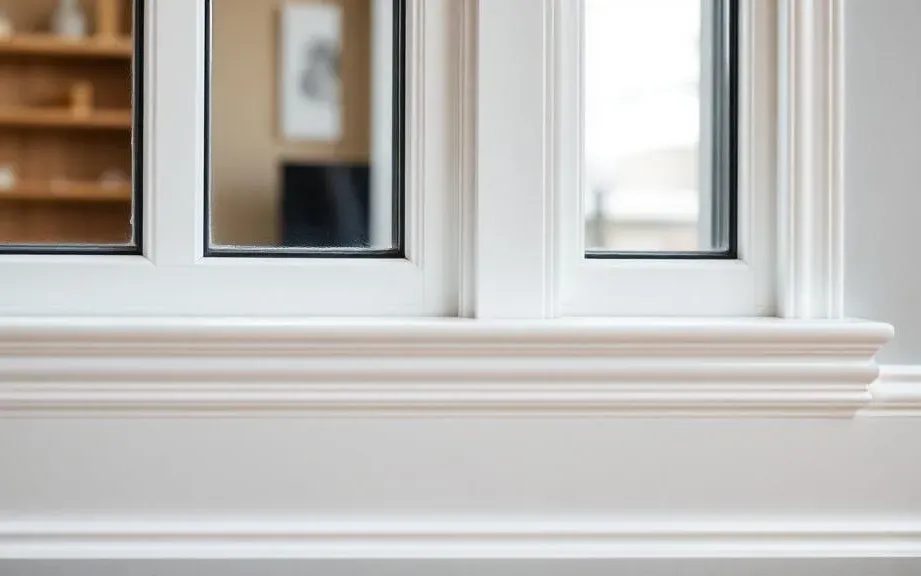
Caulking skirting boards and sealant work for a seamless finish
Caulking is the final step that makes skirting boards, mouldings and panels look seamless. TipTop Plinten uses acrylic or silicone, paint-ready or in colour.
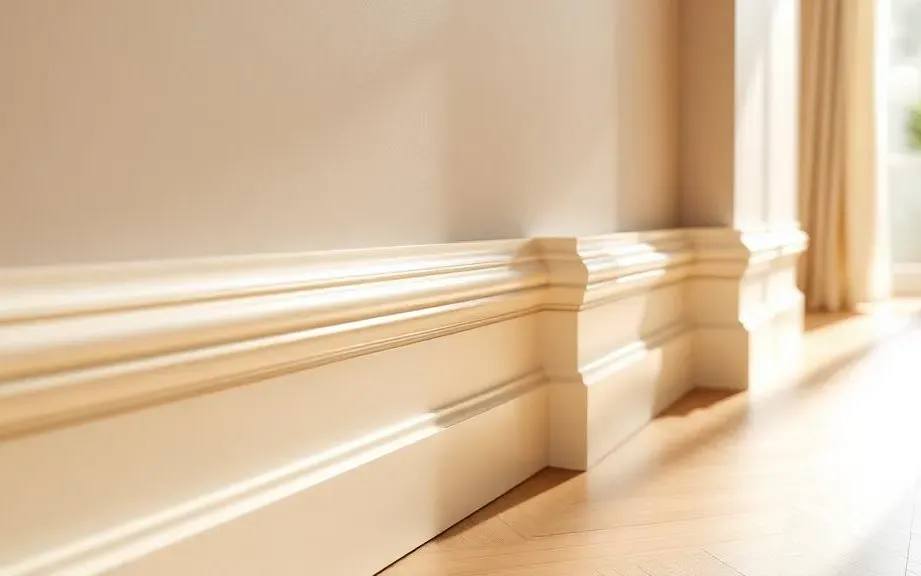
Skirting board installation by a specialist skirting fitter
TipTop Plinten fits skirting boards in MDF, solid wood and aluminium, finished in any RAL colour and neatly matched to any floor, even with uneven walls.
Skirting board installation? Request a free quote
On-site measurement €75 incl. VAT (credited for orders above a minimum project size)