
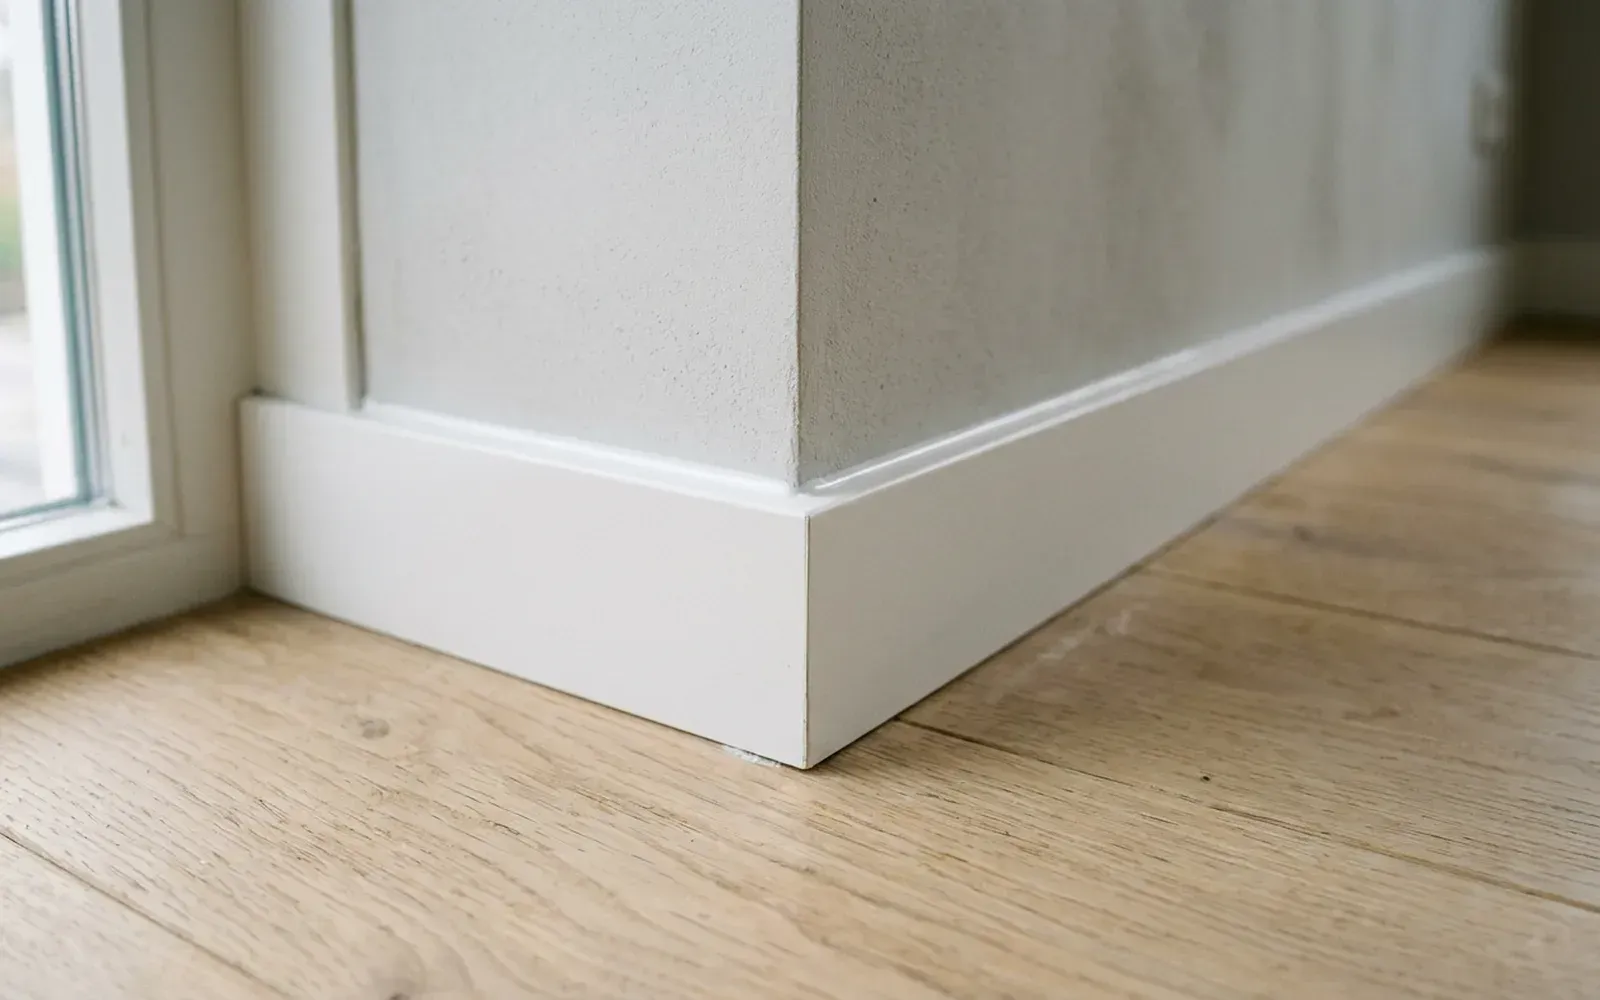
Caulking skirting boards is done with acrylic caulk for the joint between skirting board and wall: it is paintable and fills small gaps neatly. Silicone sealant is only used where water is involved, such as with tile skirting in a bathroom, because silicone cannot be painted. The difference between an ordinary and a clean finish then comes down to preparation, the right nozzle opening and smoothing the joint in one movement.
Below you can read which sealant for skirting boards suits which situation, how to caulk skirting boards and which mistakes are best avoided.
Why caulk skirting boards?
No wall is perfectly straight. Even in a new build you will quickly see a dark shadow line of a few millimetres between a straight skirting board and a plastered or painted wall. Caulking fills that gap, so skirting board and wall visually become one.
Caulking also has a practical purpose:
- Dust, sand and dirt can no longer disappear behind the skirting board.
- The top of the skirting board is easier to keep clean.
- Small irregularities in the wall disappear in the finish.
- The joint can be painted in the same colour as the skirting board, so the skirting looks cleaner.
You can read more about the trade itself in the glossary under caulking.
Which sealant for skirting boards: acrylic or silicone?
The choice depends on the location and on whether you want to paint the joint. In practice it comes down to two types.
| Sealant type | Paintable | Suitable for | Less suitable for |
|---|---|---|---|
| Acrylic caulk | Yes | Skirting-to-wall joint, internal corners, mitres, nail holes | Wet areas, joints with a lot of movement |
| Silicone sealant | No | Tile skirting, bathrooms, joints around sanitaryware | Anything you want to paint later |
Acrylic caulk: the standard for skirting boards
Acrylic caulk is water-based, easy to smooth and paintable once cured. That is why it is the standard choice for MDF skirting boards, solid wood skirting boards and mouldings that will be painted. Acrylic caulk is, however, less elastic than silicone and shrinks slightly as it dries. With a wide joint it may therefore be necessary to work in two thin layers.
Silicone sealant: only where water is involved
Silicone sealant stays very elastic and is water-resistant. That makes it suitable for places that get wet or move a lot, such as the junction between a tile skirting and a tiled floor. The downside: paint does not adhere to it. If you use silicone above a painted skirting board, you will always see that joint as a line that does not match.
And the bottom of the skirting board?
The joint between skirting board and floor needs more thought. With a floating floor, such as laminate or click vinyl, the floor must be able to move under the skirting board. The skirting is fixed to the wall and must not clamp the floor down; the expansion gap underneath stays free. Whether and with which sealant the bottom is finished therefore depends on the type of floor. Also read which skirting boards suit laminate and skirting boards for vinyl floors.
How to caulk skirting boards
A clean caulk line is mainly a matter of preparation and a steady hand.
- Check the fixing. A skirting board that still moves will tear the caulk later. Fix any loose sections firmly first. You can read how best to do that in fixing skirting boards: glue, screws or nails.
- Make the joint free of dust and grease. Vacuum the top of the skirting board and the wall. Dust is the main cause of poor adhesion.
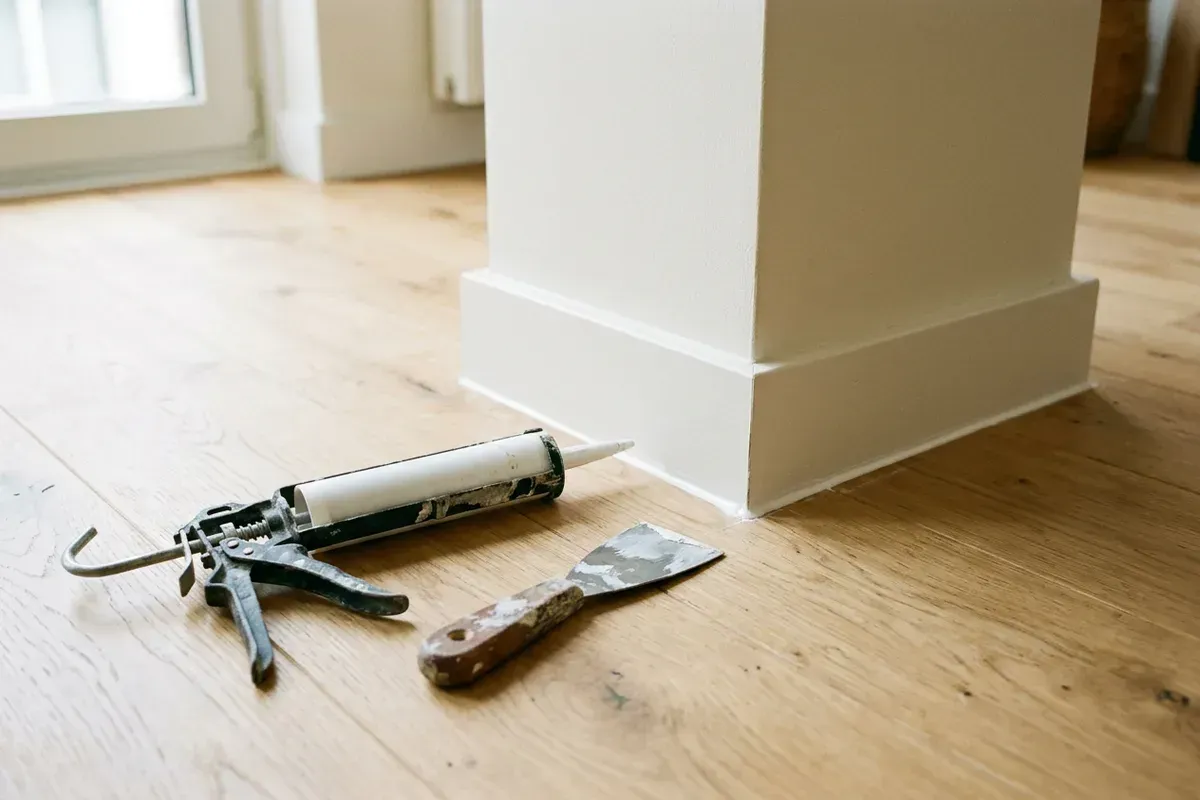
- Cut the nozzle at an angle. Start with a small opening. A nozzle cut too large gives a thick bead that you then have to wipe away again.
- Apply in one even movement. Hold the caulking gun at an angle and work at a steady pace per section of wall, from corner to corner.
- Smooth straight away. Use a caulking spatula or a damp finger and smooth the joint in one pass. Remove excess caulk immediately with a damp cloth.
- Let it cure and check. Follow the drying time on the packaging. If the caulk has sunk a little, apply a second thin layer.
- Paint over the joint. Only once the acrylic caulk has fully cured can you paint over the joint.
Common mistakes when caulking skirting boards
- Too much caulk in one go. A thick bead runs, gets messy and shrinks more. Two thin layers are better.
- Using silicone on a painted skirting board. The joint stays visible and can no longer be painted.
- Caulking on a dusty or wet surface. The caulk then comes loose or develops hairline cracks.
- Caulking before the skirting board is properly fixed. Any movement will tear the joint open.
- Sealing the bottom of a floating floor. The floor can then no longer move, which can lead to gaps or the floor lifting.
- Using caulk as a filler for large gaps. Caulk is meant for joints and gaps. With a badly uneven wall, made-to-measure work on the skirting board is the better solution, as described in skirting boards on uneven walls.
Caulking at mitres and internal corners
At corners, caulking is more than filling. In an internal corner, a thin line of acrylic caulk can hide a minimal deviation in the mitre. At an external corner that works less well: there caulk is more noticeable and a well-fitting mitre matters more. You can read exactly how to cut corners in mitre cutting skirting boards.
Caulking in practice
On TipTop Plinten projects, caulking is often the final step that makes the difference. In an apartment in Oss with a herringbone floor, clean MDF skirting boards were fitted and finished with caulking, so the transition between floor, skirting board and wall looks calm. At the new-build home in Boxtel, caulking was also included straight away with the skirting installation.
On the caulking and finishing page you can read how caulking is carried out for skirting boards, mouldings and wall panels: paint-ready or finished in colour straight away.
DIY caulking or hire a professional?
A few metres of caulk line in a small room is perfectly doable yourself with a bit of practice. With a whole house, tall skirting boards, many corners or a skirting board in a striking colour such as RAL 9005 matt black, every irregularity shows. Then it pays to have the caulking included when the skirting boards are fitted.
Quote for skirting boards and caulking
Would you like your skirting boards fitted and neatly caulked straight away? Send a message via contact with photos, the estimated number of metres and the type of floor. The quote is free and without obligation. If you are unsure about dimensions or materials, you can also opt for an on-site measurement for €75 incl. VAT, which is credited on jobs above a minimum project size. We communicate in English, as well as Dutch, German, Turkish, Persian and Arabic.
Frequently asked questions
For the joint between skirting board and wall you use acrylic caulk. It is paintable, so the joint can be painted in the colour of the skirting or the wall. Silicone sealant cannot be painted and is mainly suited to wet areas and tiling.
Almost always at the top, between skirting board and wall. That is the joint that stands out most and where dust and dirt would otherwise collect. At the bottom, whether caulking makes sense is assessed per floor type, because a floating floor must be able to move freely.
No. Paint does not adhere well to silicone and will bead or peel off. If you want to paint the joint, choose acrylic caulk. If there is already silicone in place, it must be removed completely before you apply acrylic.
Often the joint was filled too wide in one go, the caulk has shrunk, or the skirting board moves because it is not fixed firmly enough. Movement in the substrate can also cause small cracks. A well-fixed skirting board and a second thin layer in wide joints help.
At TipTop Plinten, caulking is part of the finishing work that you can have included with the installation. This makes joints and gaps between skirting board, wall and floor disappear, and the result is paint-ready or finished in colour straight away.
Related articles
Installation & finishing
Painting skirting boards or choosing pre-finished: which is the smarter option?
Pre-finished skirting boards are ready straight away, while painting them yourself gives more freedom in colour. Here is how to choose and how to paint skirting boards neatly.
Installation & finishing
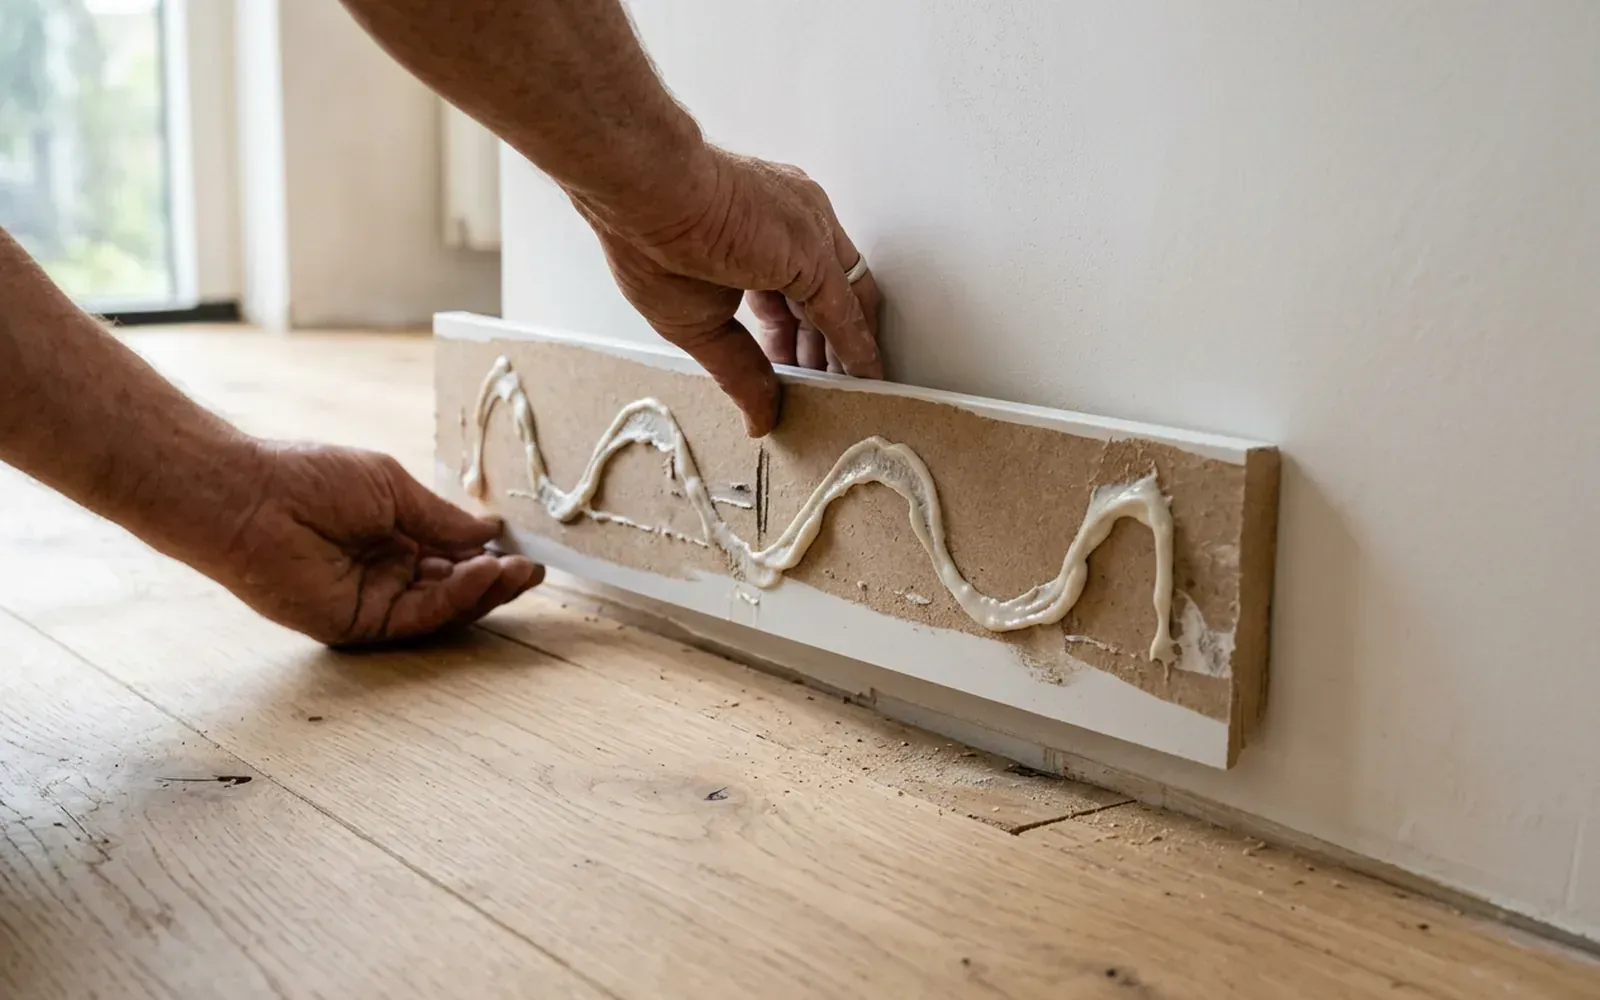
Fixing skirting boards: glue, screws or nails?
Glue, screws or nails: the right fixing depends on the wall, the skirting and the floor. Here is how to choose a method that stays put.
Related
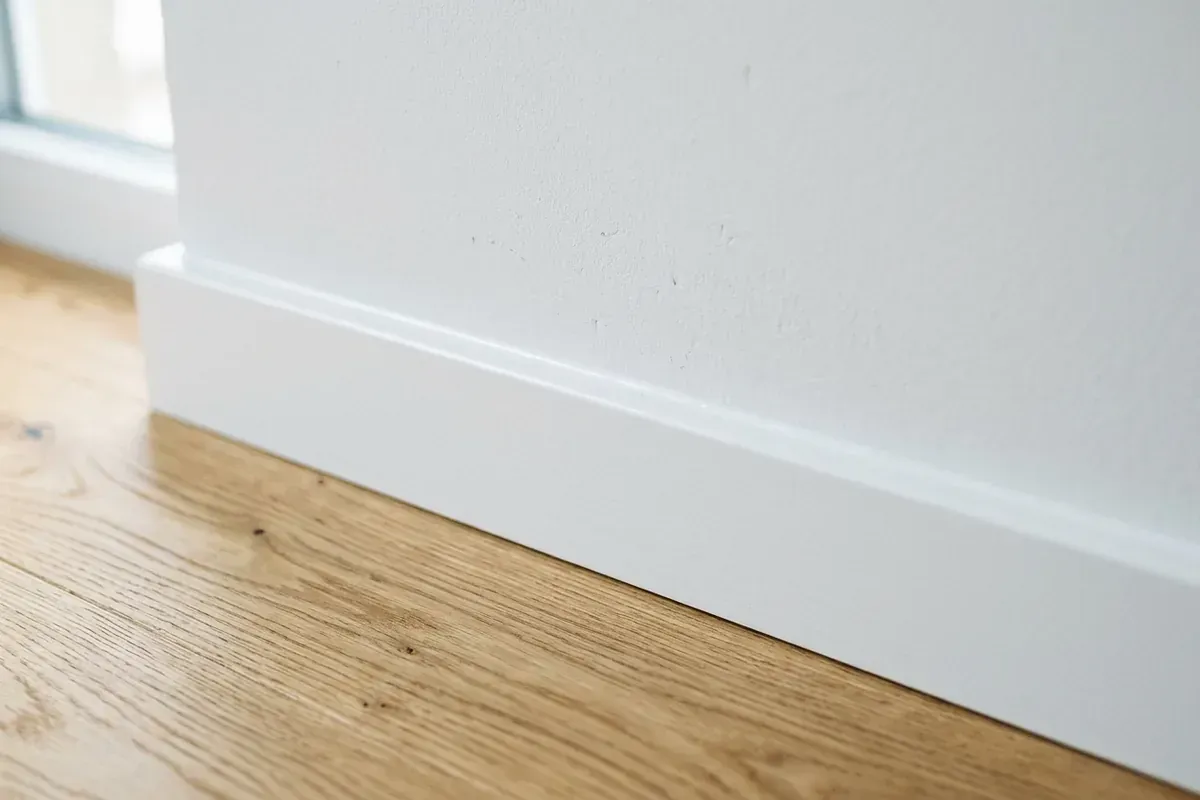
Caulking
Caulking means sealing joints with a flexible sealant. With skirting boards and mouldings, it makes the transition to the wall crisp and seamless.
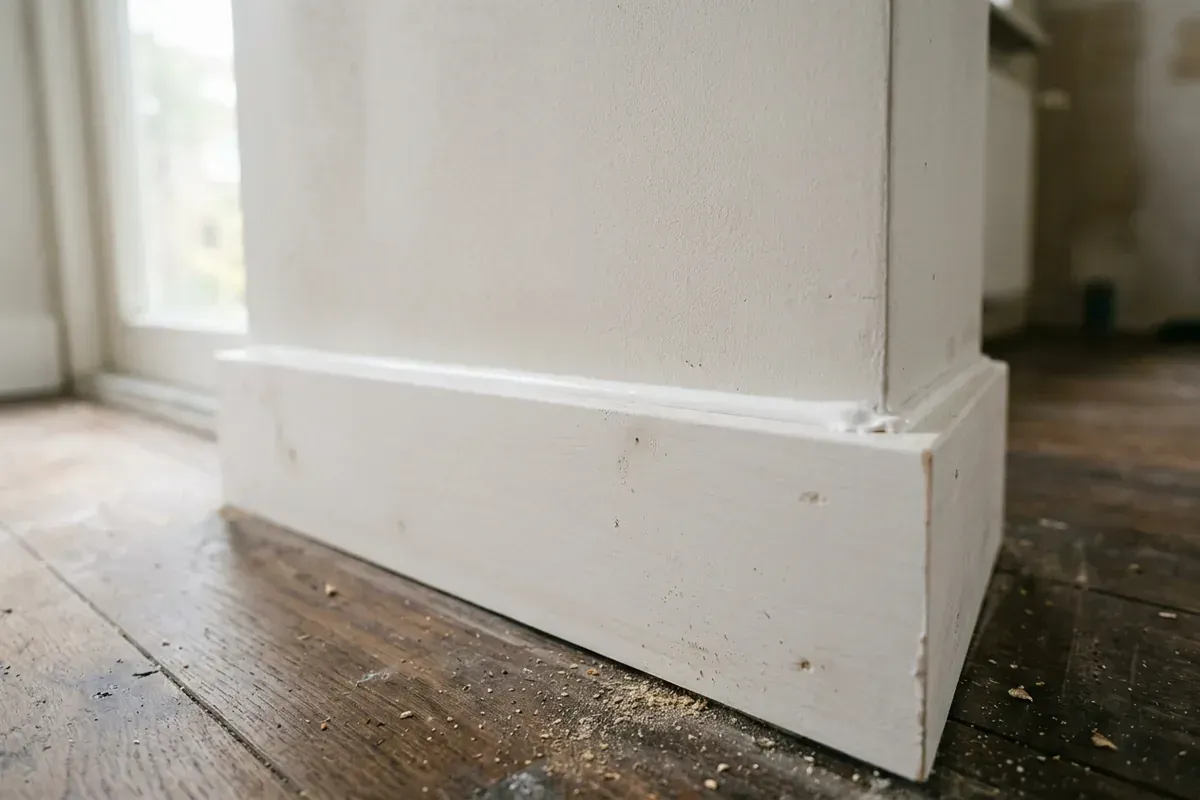
Acrylic caulk
Acrylic caulk is a water-based sealant that can be painted once cured. It is the usual choice for skirting boards, mouldings and frames in dry rooms.
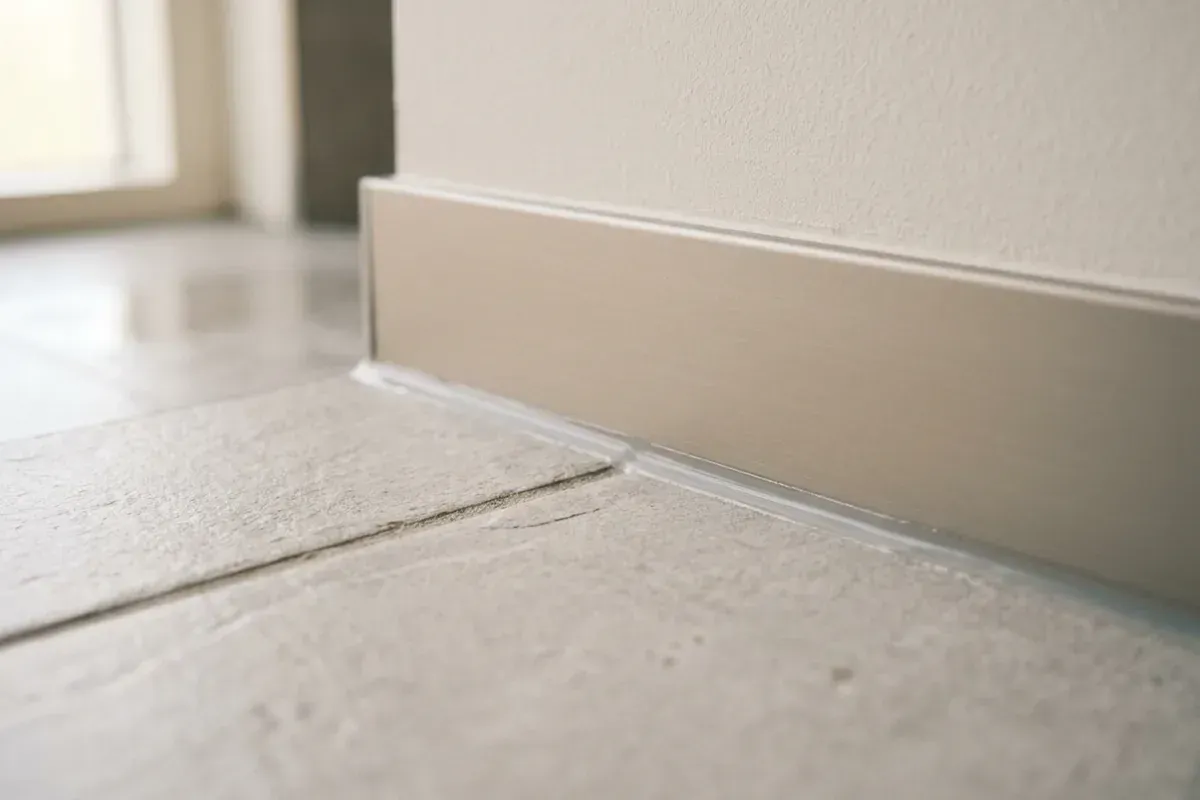
Silicone sealant
Silicone sealant is highly flexible and water-resistant, but cannot be painted. It belongs in wet rooms, not along painted skirting boards.
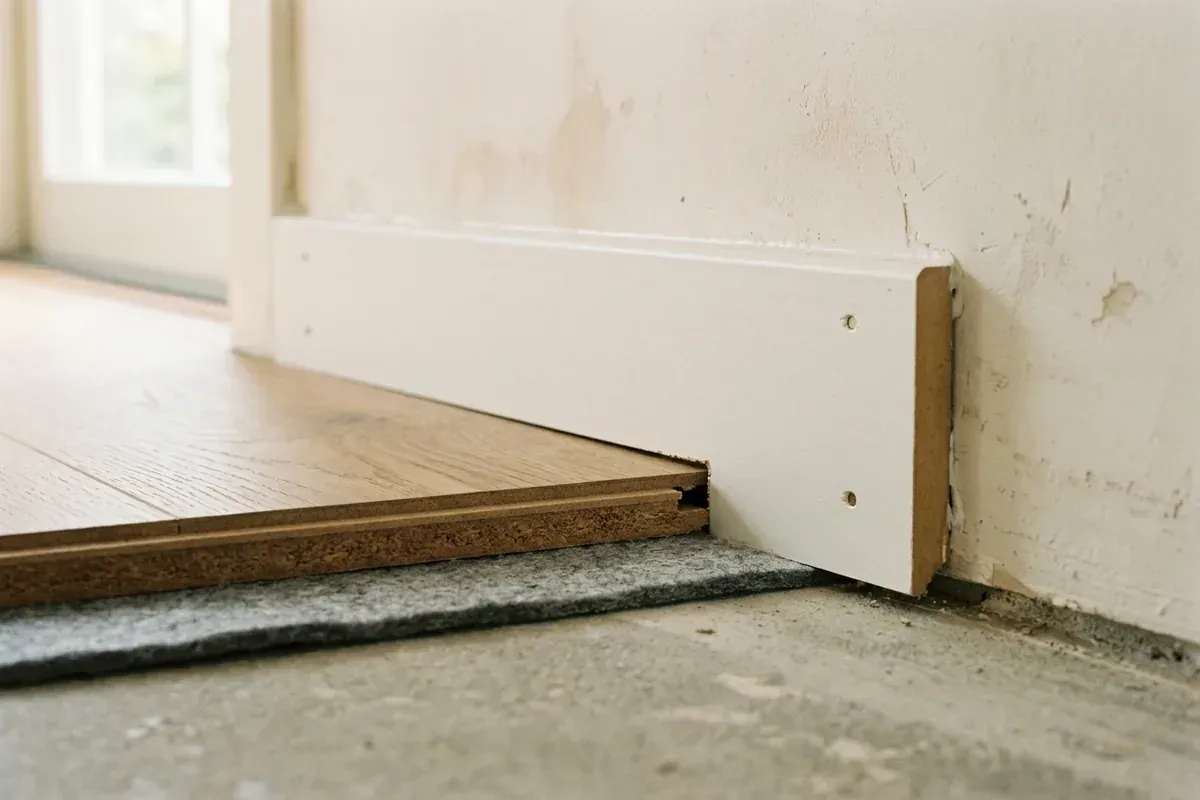
Expansion gap
An expansion gap is an open space along the edge of a floor, so it can expand and contract. The skirting board covers the gap without fixing it.
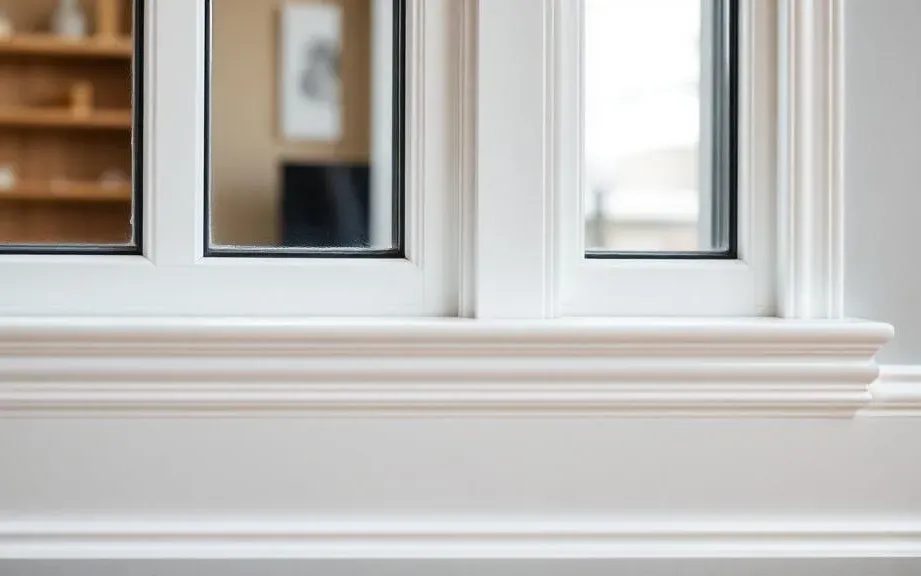
Caulking skirting boards and sealant work for a seamless finish
Caulking is the final step that makes skirting boards, mouldings and panels look seamless. TipTop Plinten uses acrylic or silicone, paint-ready or in colour.
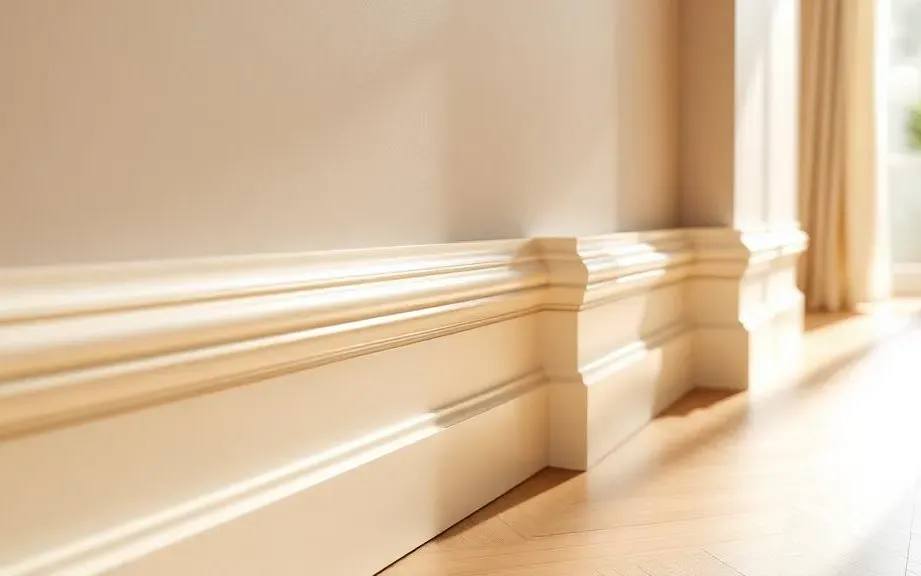
Skirting board installation by a specialist skirting fitter
TipTop Plinten fits skirting boards in MDF, solid wood and aluminium, finished in any RAL colour and neatly matched to any floor, even with uneven walls.
Skirting board installation? Request a free quote
On-site measurement €75 incl. VAT (credited for orders above a minimum project size)