
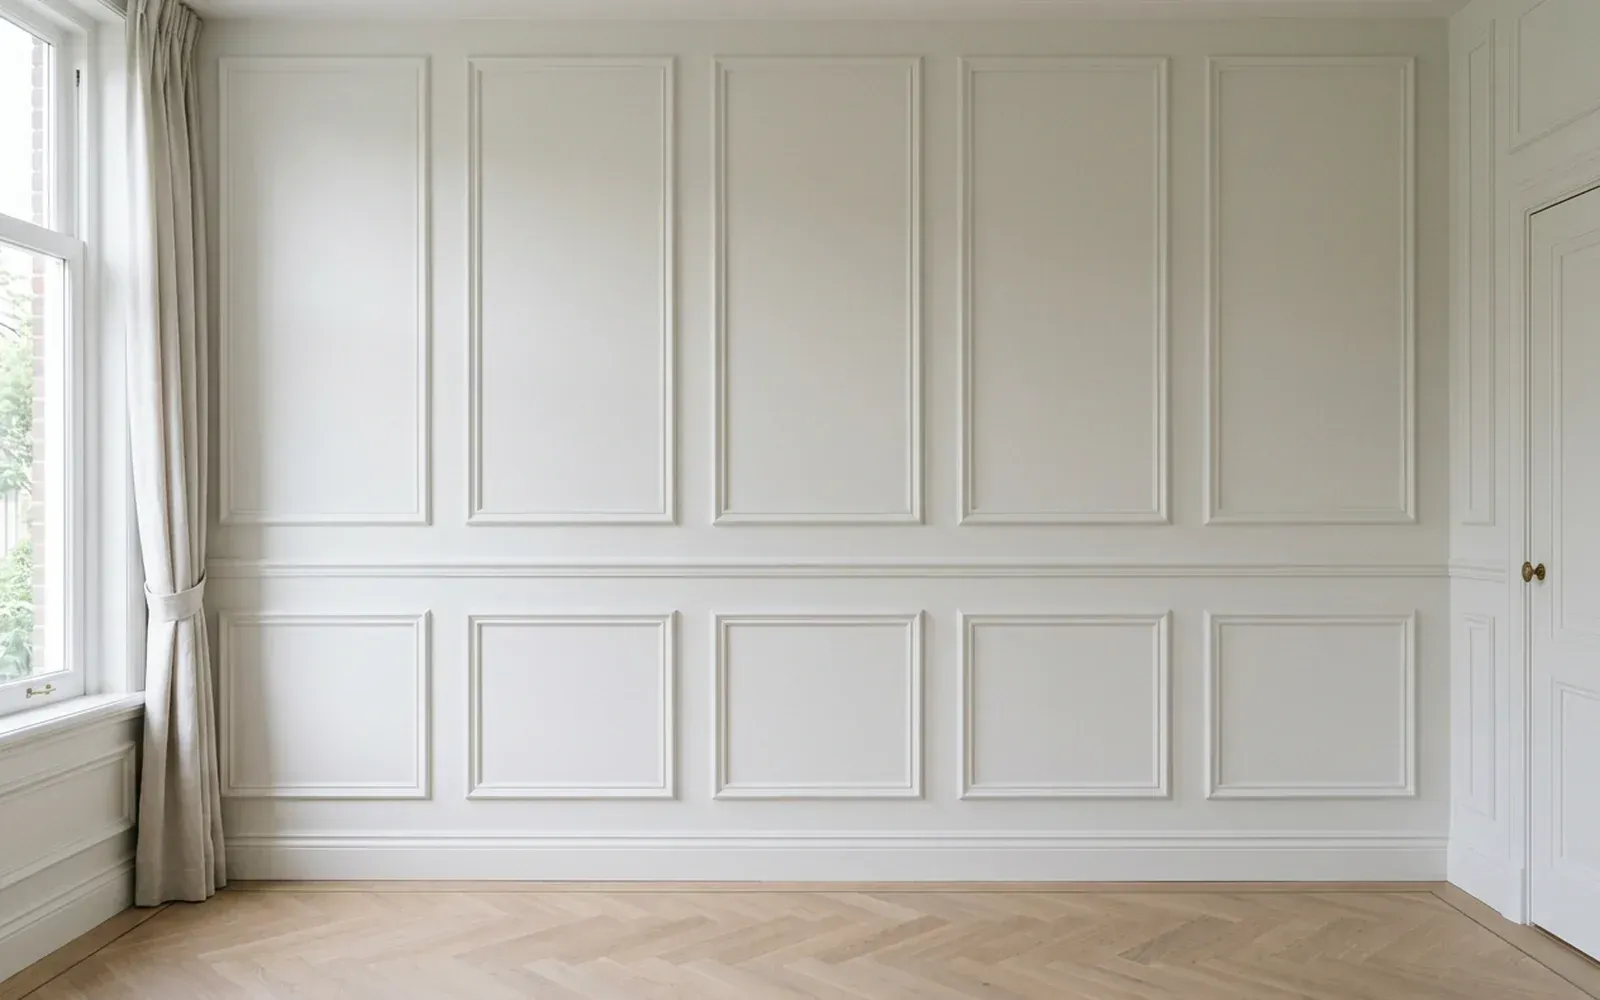
A panelled wall with mouldings is created by fitting mouldings in rectangular sections on a flat wall. Mouldings and wall are usually painted the same colour, so the shadow of the profile makes the sections visible. The result looks like a classic panelled wall, but without full panels. Whether it turns out well depends mainly on three things: a layout of sections that works, a profile that suits the room and crisp mitres with a neat finish.
What exactly is a panelled wall?
There are two ways to create a panelled wall:
- Mouldings directly on the wall. Wall mouldings are fitted in sections on the plastered or painted wall. This is the most common version in homes.
- Flat panels with mouldings on top. First a panel or board goes on the wall, then the mouldings. This gives an even surface, even if the wall itself is less than perfect.
Both versions are often combined with a capping rail at half height, the classic wainscoting. You can read more about that form in wall mouldings and wainscoting.
Where does a panelled wall with mouldings work?
- Living room: as a feature wall behind the sofa or around a chimney breast.
- Bedroom: behind the bed, possibly up to the ceiling.
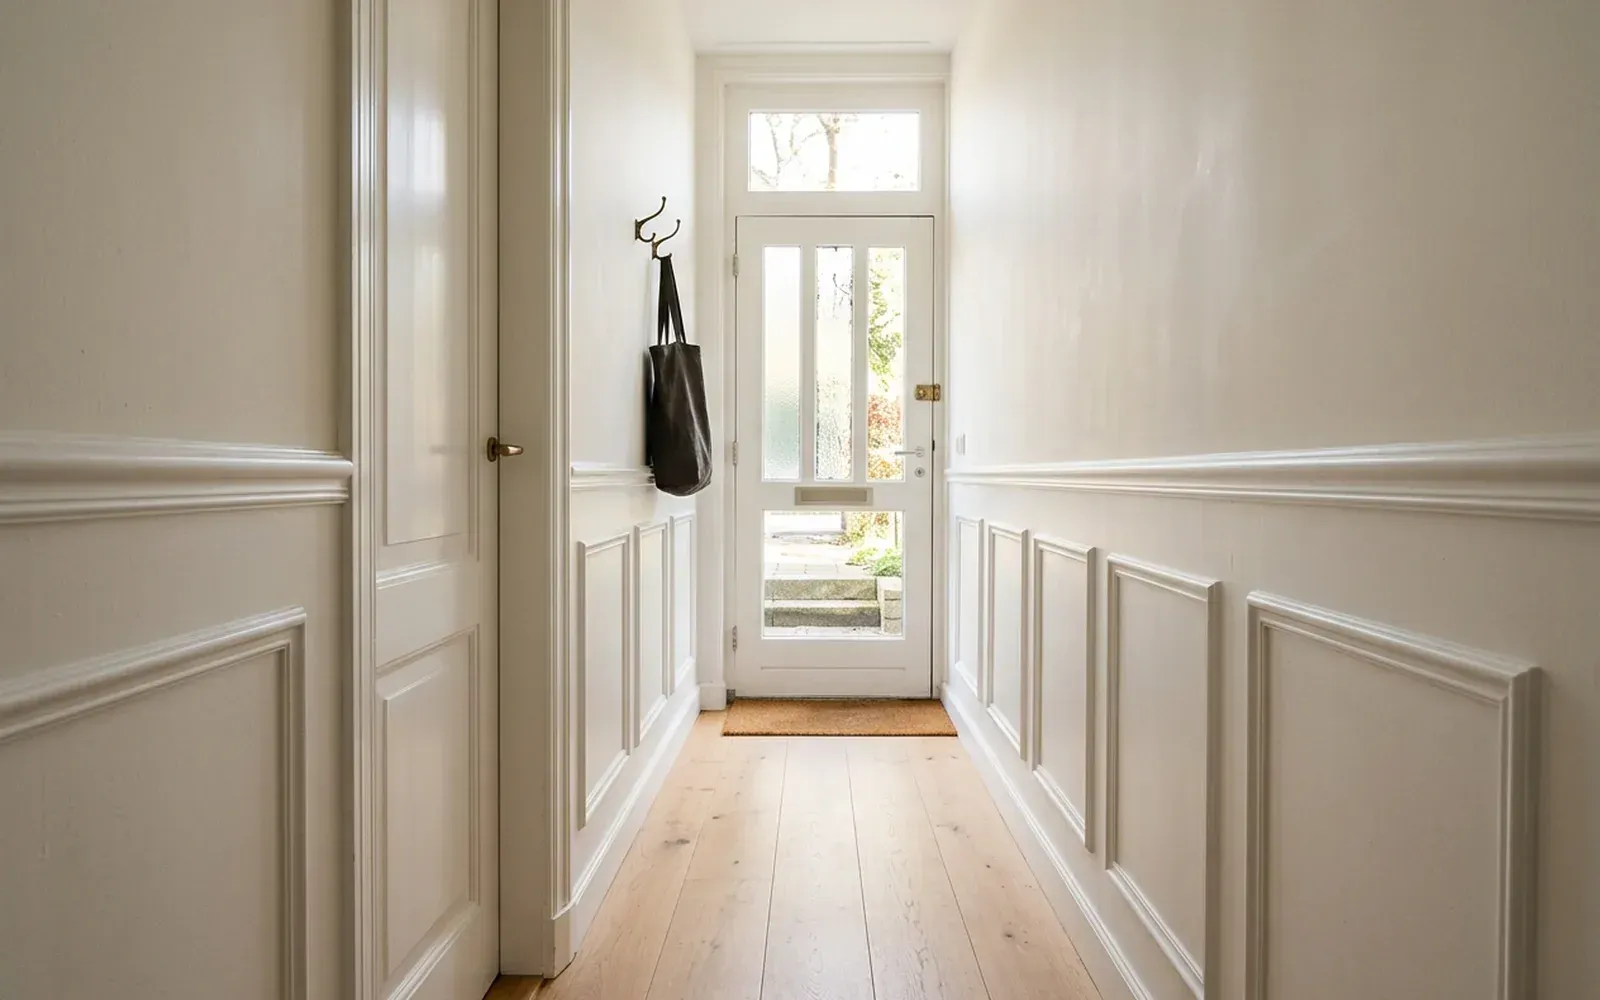
- Hallway and hall: as half-height, protective wainscoting. See also hallway wall panels.
- Dining room: with a rail at chair height.
- Hotels and commercial spaces: for a prestigious look.
Mouldings are not just for classic houses. In a clean-lined interior, a slim, simple profile painted tone-on-tone actually looks very modern. For ideas, read decorative mouldings in a modern interior.
How do you lay out the sections?
The layout is the most important part of the design. A few rules of thumb:
Start with the fixed points
Ceiling, skirting board, door frames, windows, switches, sockets and any radiator determine where the sections can go. Put these on paper first, with the dimensions of the wall.
Work symmetrically
Work from the centre of the wall or from a fixed element, such as a chimney breast, the TV position or the headboard of the bed. Sections that turn out narrower on one side are immediately noticeable.
Keep spacing equal
The space between the sections, to the ceiling, to the skirting board and to the corners of the wall should be the same everywhere, or deliberately different. Equal margins give calm.
Play with proportions
A classic layout has low sections below the capping rail and tall sections above it. On a wall without a rail, you can choose tall, narrow sections that emphasise the ceiling height, or wide sections in a low room.
| Situation | Layout that often works well |
|---|---|
| Low ceilings | Tall, narrow sections, no heavy capping rail |
| High ceilings | Capping rail with low and tall sections, possibly coving |
| Wide wall | Even or odd number of sections, symmetrical from the centre |
| Wall with a door | Match sections to the width of the frame and the architrave |
Which profile should you choose?
The profile of the decorative moulding determines the style:
- Classic: a richer profile with several curves, suited to a 1930s home or a townhouse.
- Modern: a slim, flat or slightly rounded profile that mainly creates a shadow line.
- In between: a simple profile with one curve or facet, which suits many interiors.
Also look at the existing skirting boards, architraves and any coving. Profiles that belong together make the room feel coherent. The thickness of the moulding must be in proportion to the wall: a moulding that is too thin disappears on a large wall, one that is too thick makes a small wall look busy.
What should you look out for in the execution?
Mitres
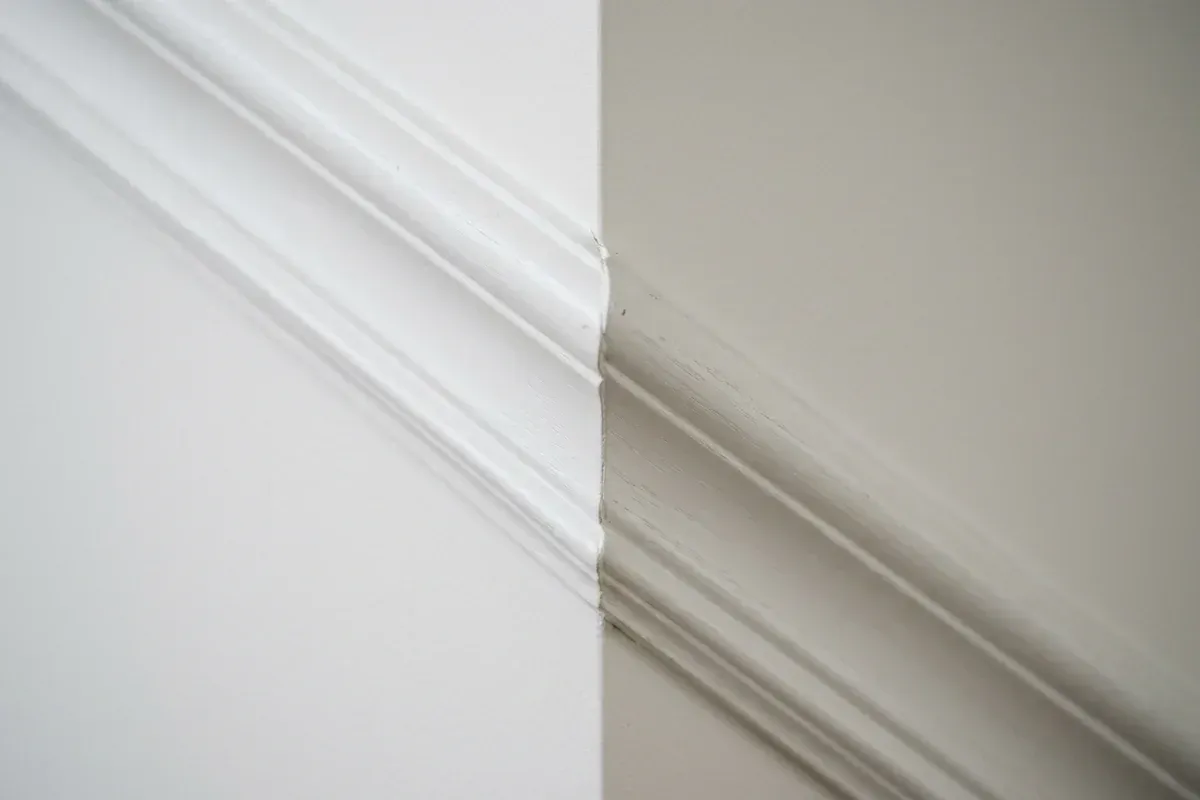
Every section has four corners, and each of those corners is a mitre joint. On a wall with ten sections, that makes forty. An open or misaligned mitre stands out, especially in raking light. Accurate cutting and fitting is therefore half the job. How mitres work is explained in mitre cutting skirting corners.
Fixing
Mouldings are usually bonded with construction adhesive, sometimes supplemented with fine nails or pins that are concealed. The adhesive must be suitable for the surface and the material of the moulding.
Caulking and finishing
Along the mouldings there is always a small gap between moulding and wall. It is filled with acrylic caulk, which can be painted over. Pin holes and mitres are filled and sanded. Only then is everything painted in one colour, so moulding and wall form one whole.
Straight lines on an uneven wall
Many walls are not completely flat or square. The mouldings still need to be level and plumb, otherwise you will see it straight away in the distance to the ceiling or corner. Small deviations are taken up with caulk. With larger deviations, it is sensible to fit a flat board to the wall first.
Switches and sockets
A section that runs through a switch looks restless. When laying out, try to have electrical points fall within a section or in a gap between sections. If points need to be moved, have a qualified electrician do that beforehand.
A panelled wall in a project
In a luxury hotel in Maastricht, TipTop Plinten fitted wall panels and decorative mouldings, including caulking and a finish in RAL 9010. There, many mitres had to fit to the millimetre, against a tight deadline. The same precision is needed for a panelled wall at home: there are a great many corners and every deviation shows.
Common mistakes
- No drawing beforehand, so the last section turns out narrower.
- A profile that does not match the skirting boards and architraves.
- Using a sealant that cannot be painted, so the paint does not adhere.
- Not setting out level because the ceiling slopes.
- Painting before joints and holes have been finished.
Having a panelled wall with mouldings fitted?
TipTop Plinten fits wall panels and wall mouldings and decorative mouldings and coving, from setting out the sections to the caulking. Send photos of the wall, the dimensions and, if you have one, an example of the style you are looking for via the contact page. The quote is free and without obligation, and we can communicate in English, Dutch, German, Turkish, Persian or Arabic. An on-site measurement is optionally available for €75 incl. VAT; this amount is credited as a discount on jobs above a minimum project size.
Frequently asked questions
A wall on which mouldings are fitted in sections, so it looks as if the wall is made of panels. Mouldings and wall are often painted the same colour. The profile of the moulding and the layout of the sections determine the style.
Start with the fixed points: ceiling, skirting board, doors, windows and switches. Keep the distance between the sections and to the edges the same everywhere, and work symmetrically from the centre or from a fixed element, such as a chimney breast or the TV position.
Not necessarily, but it is the most popular option. Tone-on-tone gives a calm, refined effect in which the shadow of the profile does the work. A contrasting colour makes the sections more pronounced.
Yes, but it calls for made-to-measure work. The mouldings have to be straight and level, even if the wall is not. Small irregularities are taken up with caulk and packing; with large deviations, the wall can first be made flat.
Related articles
Mouldings & walls
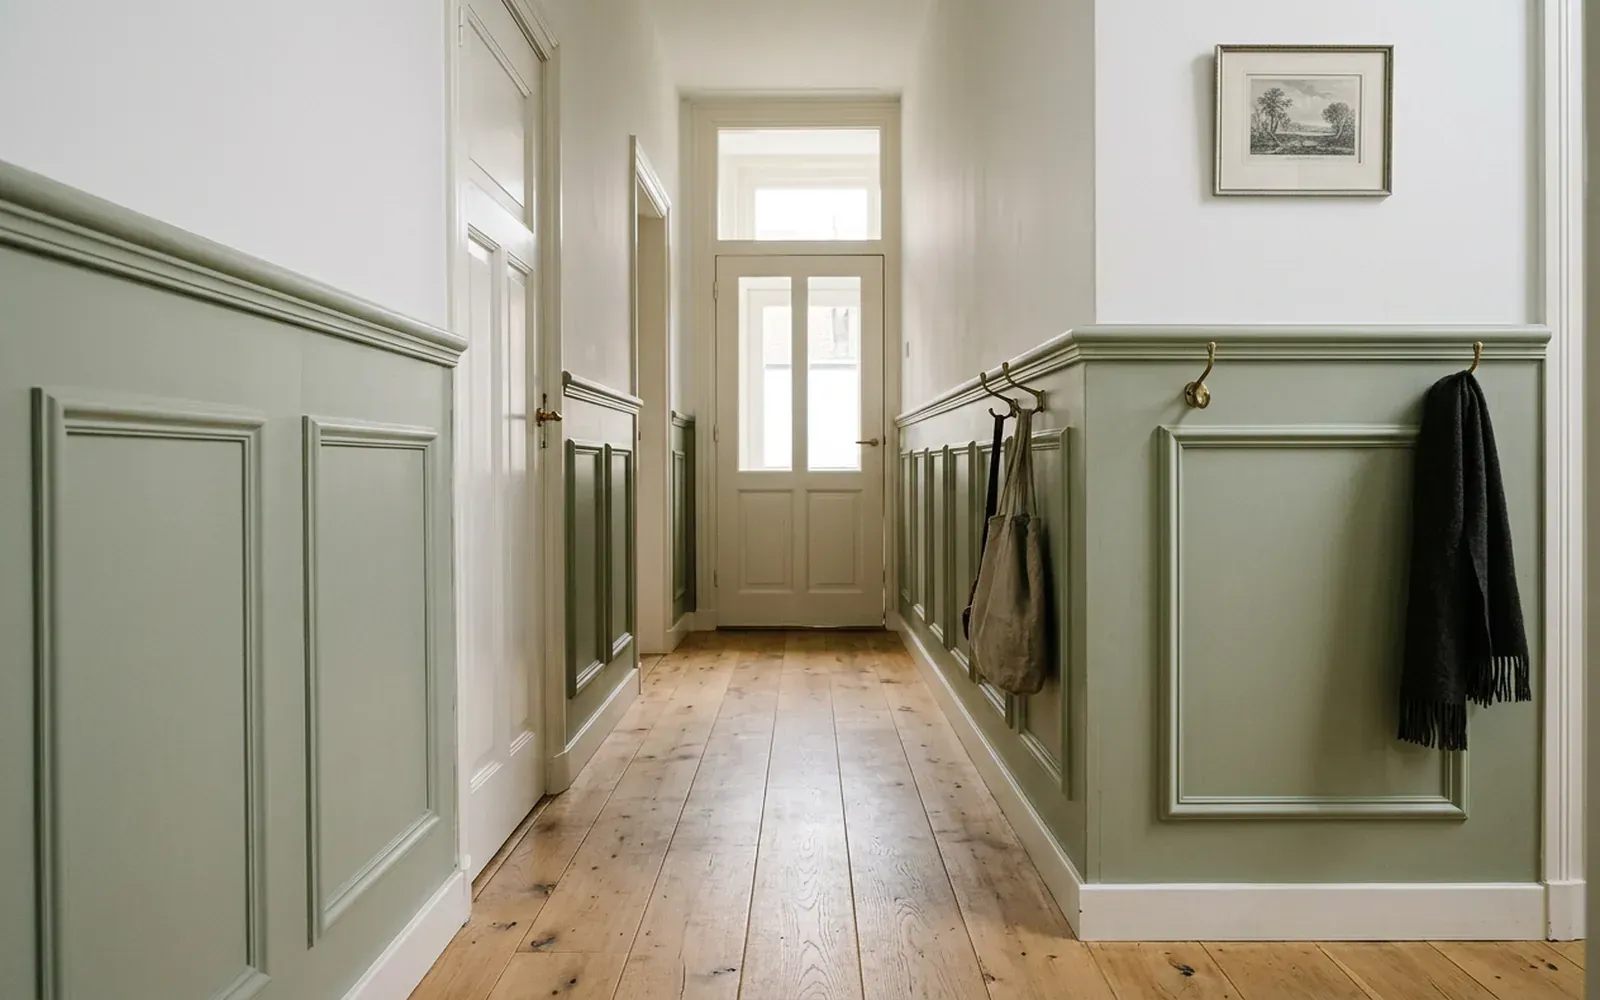
Wall mouldings and wainscoting: differences, styles and uses
Wainscoting and wall mouldings give a wall structure and a classic or modern look. We explain the difference, which styles there are and what to look out for.
Mouldings & walls
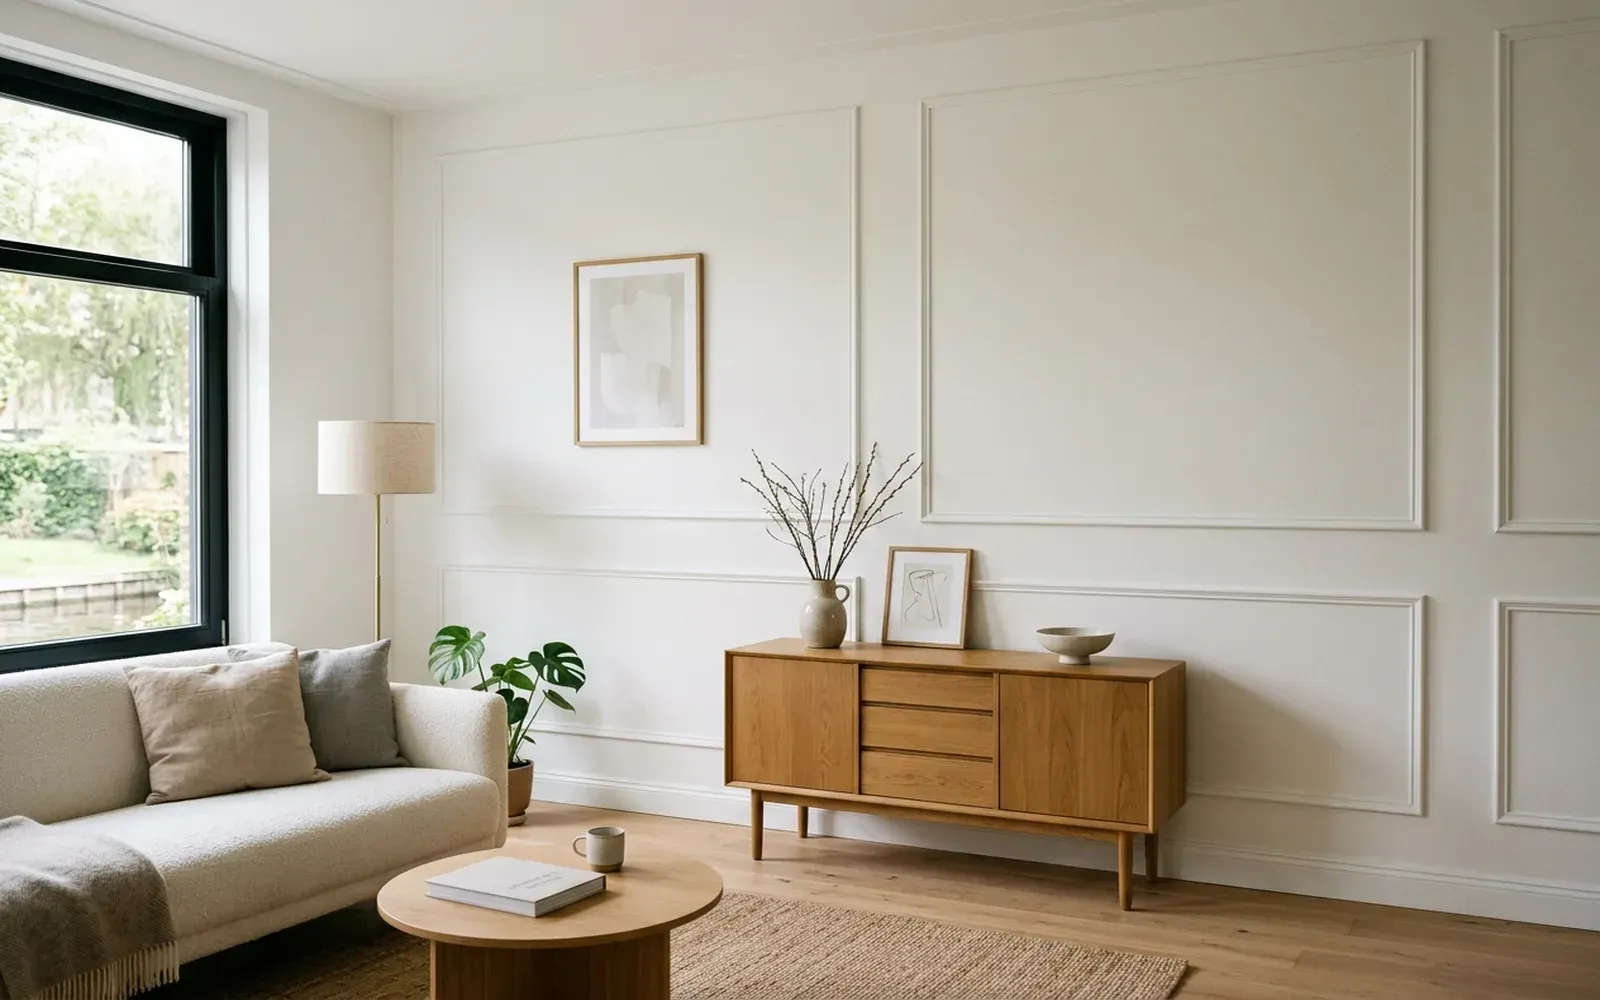
Decorative mouldings in a modern interior: how to use them with style
Decorative mouldings are not just for period properties. With a calm profile and the right colour, they give a modern interior depth and a refined look. Here is how to use them.
Mouldings & walls
Hallway wall panels: good-looking and practical
A hallway has a lot to put up with: coats, bags, bikes, shoes. Wall panels protect the wall and turn a narrow through space into a well-kept entrance.
Related
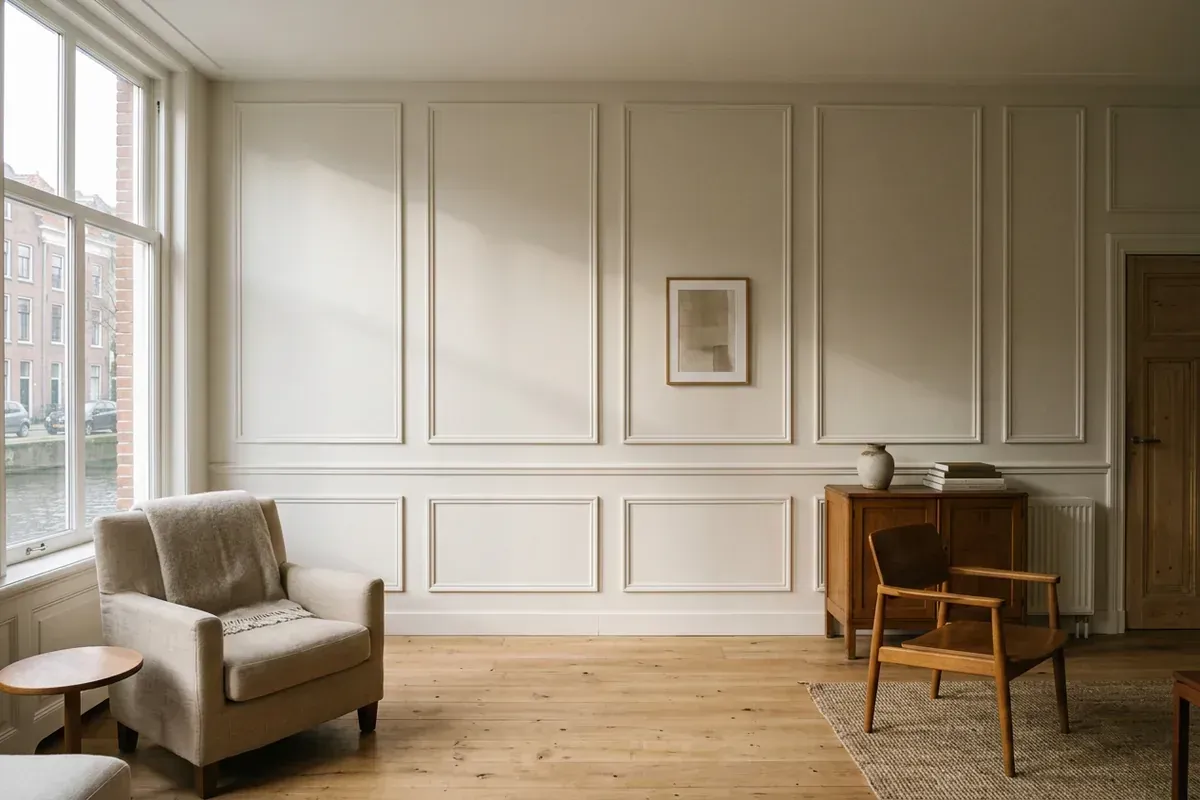
Wall moulding
A wall moulding is a narrow moulding on the wall surface. Several mouldings together create frames or panels that give a flat wall depth and rhythm.
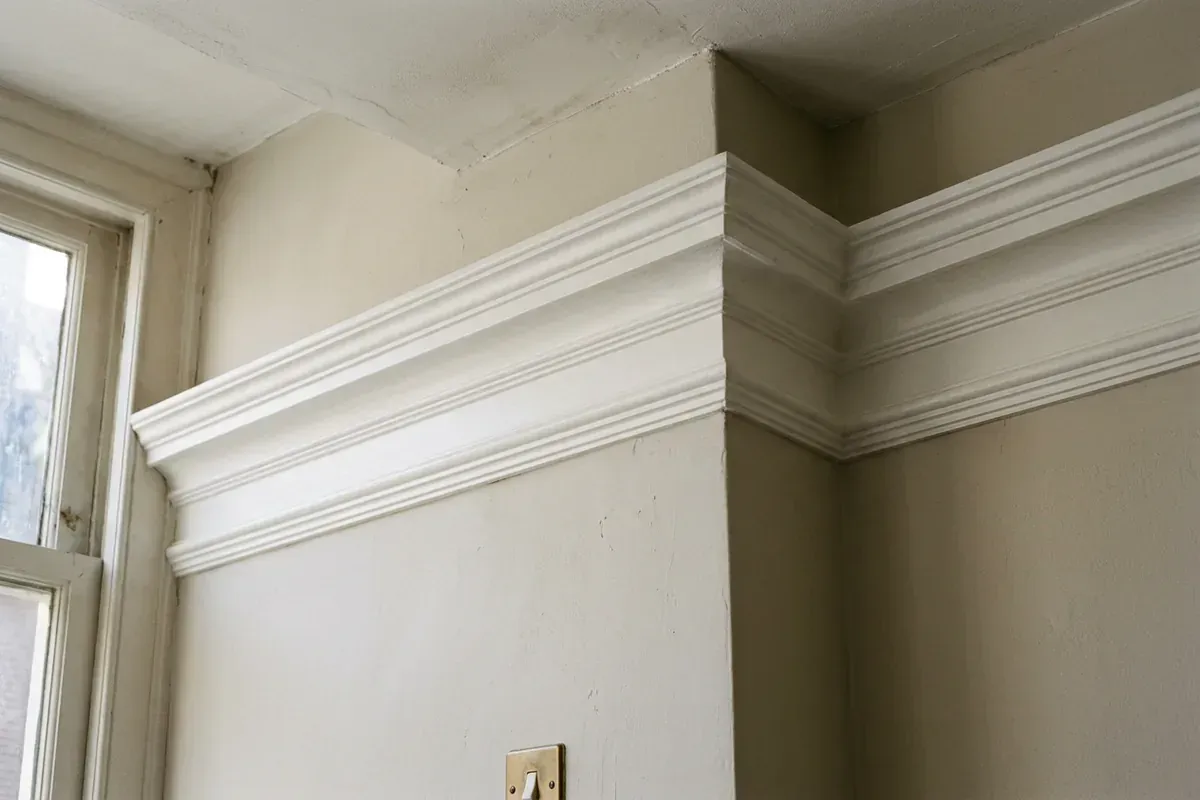
Decorative moulding
A decorative moulding is an ornamental profile on a wall or ceiling. It gives a room character, from classic ornament to a sleek modern line.
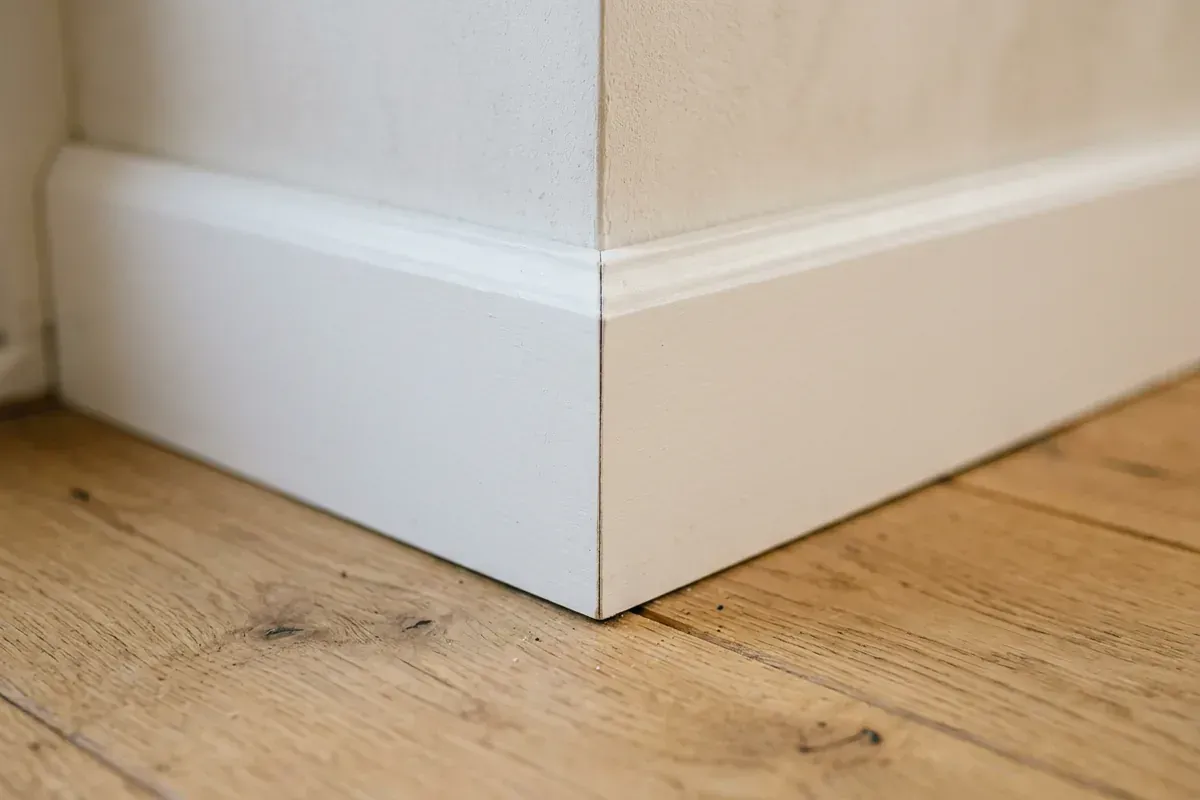
Mitre joint
A mitre is an angled cut that lets two mouldings meet seamlessly in a corner. For a right angle, that is usually 2 x 45 degrees.
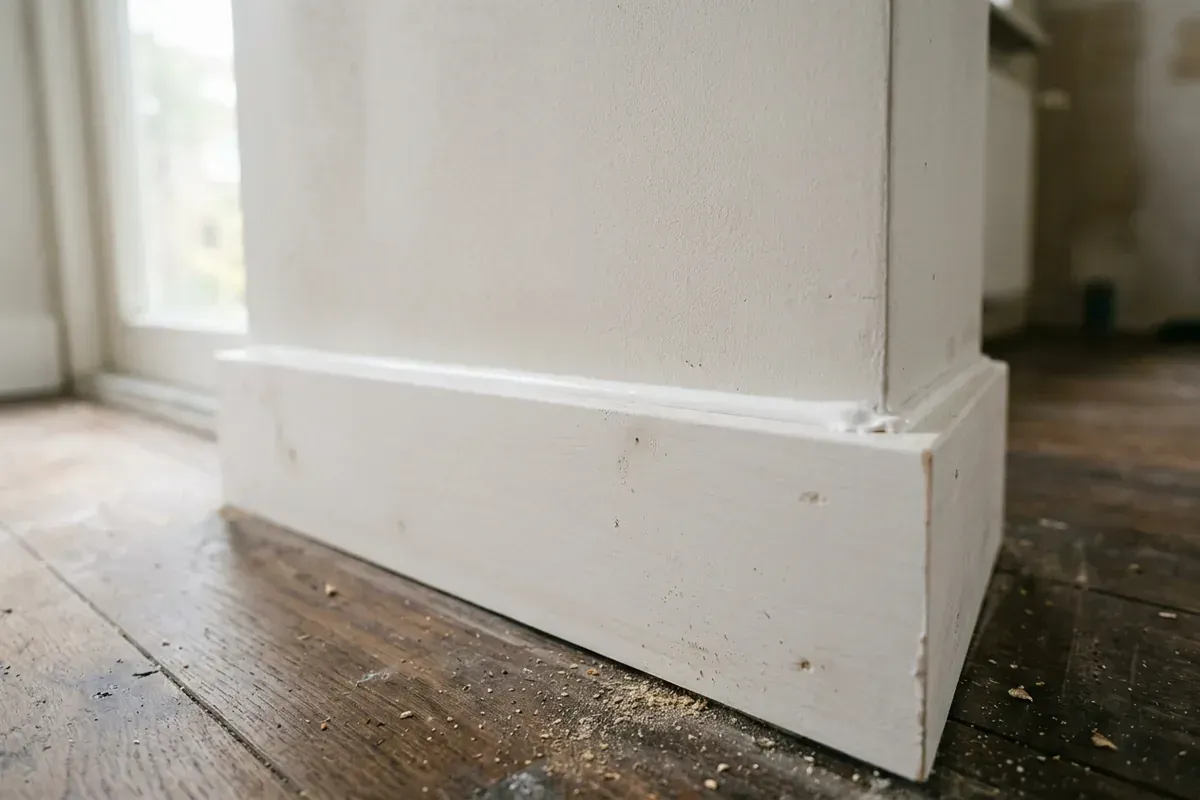
Acrylic caulk
Acrylic caulk is a water-based sealant that can be painted once cured. It is the usual choice for skirting boards, mouldings and frames in dry rooms.
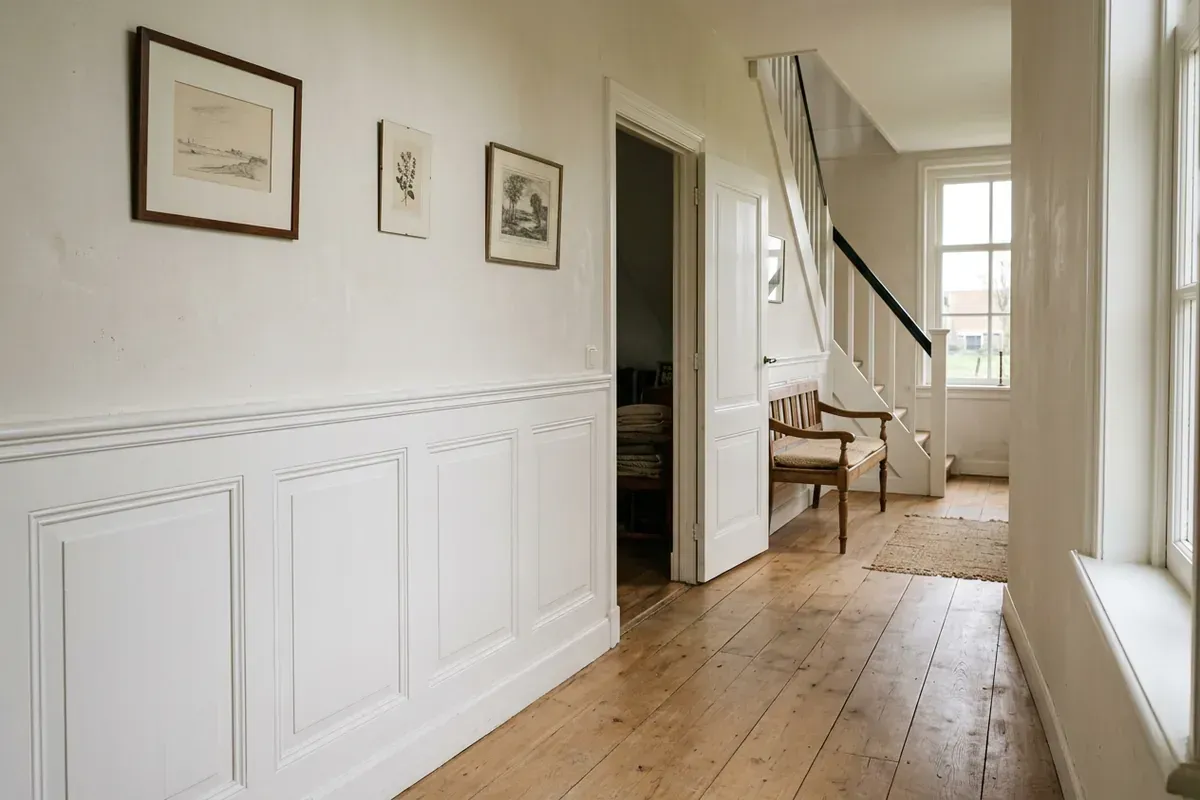
Wainscoting
Wainscoting is a covering on the lower part of the wall, traditionally in timber. It protects the wall and gives a room a classic character.
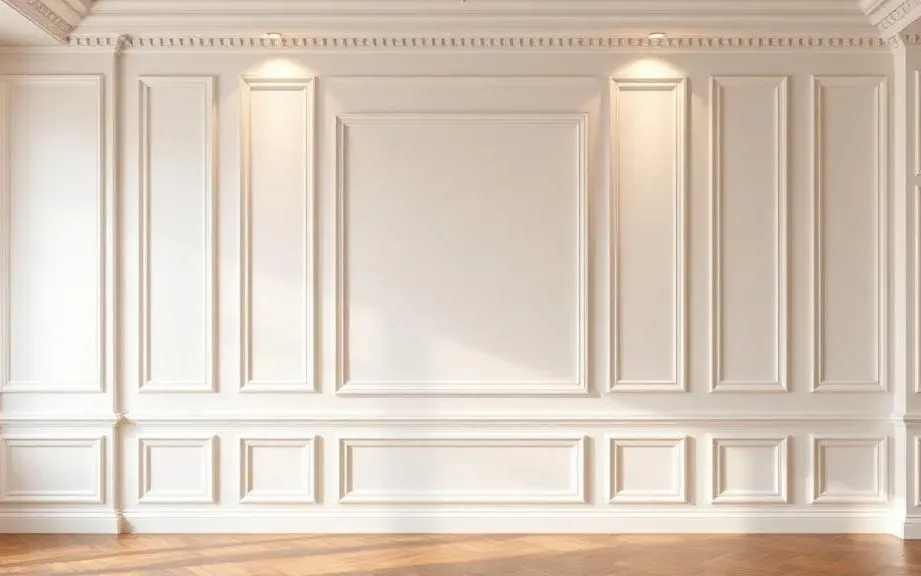
Wall panelling installation and wall mouldings fitted
TipTop Plinten fits wall panels, wall mouldings, slat panels and acoustic panels in homes, offices and hotels, with tight mitres and clean caulking.
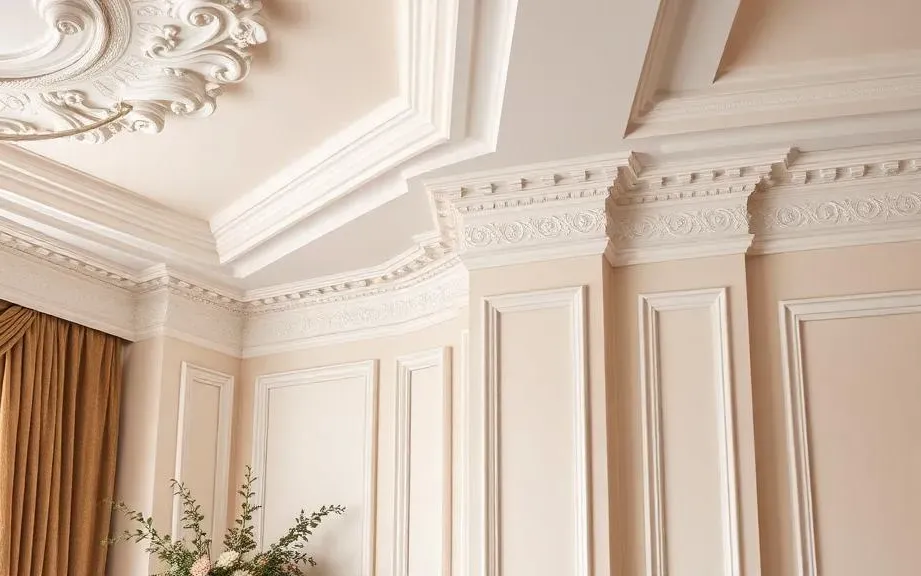
Decorative mouldings and coving installation
Decorative mouldings and coving give a room character. TipTop Plinten fits them in classic or minimal modern styles, with precise mitres and clean caulking.
Skirting board installation? Request a free quote
On-site measurement €75 incl. VAT (credited for orders above a minimum project size)